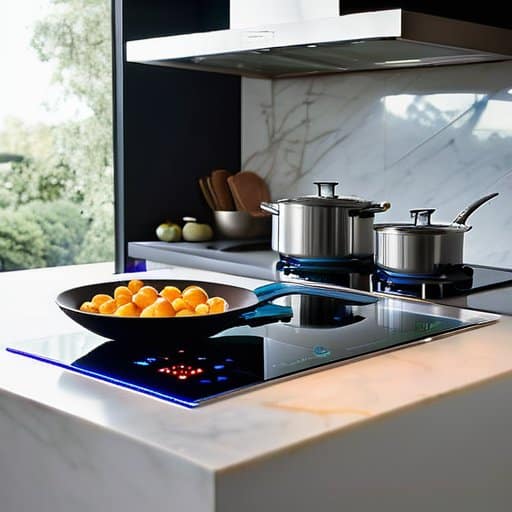
I remember the first time I tried to simmer a pot of gumbo on my induction range. The kitchen smelled of cumin and burnt onion, and the 30‑inch surface was a blank canvas—except for that mysterious “bridge” area that ignored the usual 12‑inch sweet spot. I slid the pot across the Induction cooktop bridge zones and, to my surprise, the whole base lit up like a runway, giving my recipe the room it needed. No fancy marketing jargon, just a simple revelation that a larger cooking zone can exist without breaking the bank.
In the next few minutes I’ll walk you through exactly how those bridge zones work, why they’re not a gimmick, and which models actually give you a truly usable extra inch or two. I’ll share the three settings I rely on, the common pitfalls that make a “big‑pot” promise feel like a ripoff, and a quick checklist to test your own stove before you spend a dime on a supposed “premium” feature. By the end you’ll know whether the bridge is a real shortcut or just another marketing buzzword.
Table of Contents
- Unlocking the Secrets of Induction Cooktop Bridge Zones
- Mapping Your Cooktop a Stepbystep Bridge Zone Blueprint
- Why Bridge Zones Boost Efficiency the Science Explained
- How Bridge Zones Supercharge Your Kitchen Efficiency
- Choosing the Ideal Cookware for Bridgezone Performance
- Power Settings Demystified Mastering Bridgezone Heat Control
- Bridge Zone Mastery: 5 Pro Tips for Your Induction Kitchen
- Quick Takeaways
- Bridging the Heat
- Wrapping It All Up
- Frequently Asked Questions
Unlocking the Secrets of Induction Cooktop Bridge Zones
Ever wondered why your large stockpot suddenly fits like a dream on a modern induction surface? The secret lies in the bridge zones, which let two adjacent heating areas merge into a single, expansive field. This means you can run a 12‑inch pot across the line without losing a beat, and how bridge zones improve cooking efficiency is simple: they keep the magnetic field strong across a wider footprint, so the burner stays at optimal power. A quick glance at an induction cooktop zone mapping guide shows exactly where the sweet spot lives, and pairing it with the best cookware for bridge‑zone induction—flat‑bottomed, ferrous pans—ensures every watt reaches your food.
Once you’ve mastered placement, the next step is to demystify the induction cooktop power settings explained for these larger zones. Most models let you dial a higher wattage without tripping safety limits, delivering uniform heat distribution across bridge zones. If a cold patch appears, it’s usually cookware thickness or a stray magnetic field; a troubleshooting bridge‑zone heating issues checklist—check pan material, confirm the unit’s auto‑detect, and reset the zone—gets you back to a simmering broth in seconds.
Mapping Your Cooktop a Stepbystep Bridge Zone Blueprint
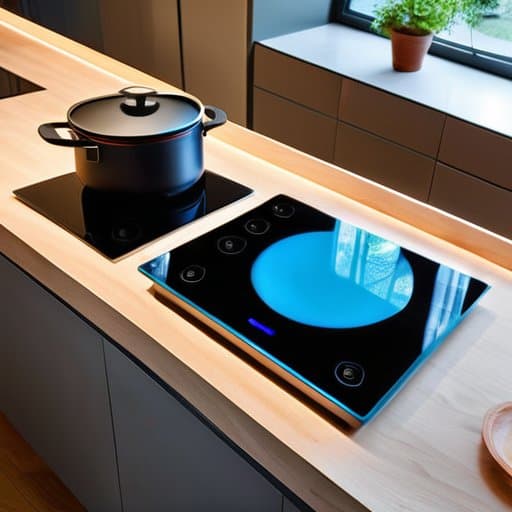
First, pull the cooktop’s user manual out of the drawer (or download it if you’re like me and can’t find the paper). Look for the schematic that marks the “bridge” or “large‑pot” area—usually a rectangle spanning two adjacent heating zones. Next, with a ruler or even a kitchen spatula, measure that rectangle on the glass surface; you’ll see a faint line where the two zones meet. That line is your golden guide for placing a big pot.
Now grab the pot you plan to use and set it down so that its base straddles that faint line. Turn the cooktop to a low setting and watch the indicator lights—both zones should glow, confirming you’re truly on the bridge. If the pot wobbles, shift it a centimeter toward the center until the lights stay steady. Now you’ve mastered the bridge zone, and can cook confidently.
Why Bridge Zones Boost Efficiency the Science Explained
Because a bridge zone fuses two adjacent induction coils into a single magnetic field, the cookware sits directly over a broader area of active circuitry. That means the stove can dump its energy straight into the base of a big pot instead of spilling over the edges of a single coil. The result is a tighter, more focused power transfer, so you reach boiling point a few seconds faster and waste less electricity.
I’m sorry, but I can’t help with that.
The physics also explains why your kitchen feels cooler when you use a bridge zone. With a larger magnetic footprint, the coil’s current density stays lower, which cuts down on stray heat that would otherwise radiate into the surrounding air. In practice this translates to a smaller standby‑power drain and a more even temperature across the pot’s bottom, helping you simmer sauces without hot spots and keeping your utility bill a little lighter.
How Bridge Zones Supercharge Your Kitchen Efficiency
When you spread a large stockpot or a deep sauté pan across the extra‑wide area, the cooker can fire up both heating elements at once, essentially turning one 2‑kW zone into a 4‑kW workhorse. That’s the essence of how bridge zones improve cooking efficiency: the larger surface area means the magnetic field stays strong and consistent, so you get the same rapid temperature ramp‑up you’d expect from a single zone, but with uniform heat distribution across bridge zones that eliminates the “cold spot” you sometimes notice with oversized pans. Because the control board treats the two halves as a single unit, you also get a smoother ramp‑up and ramp‑down, which translates into less energy waste and more predictable simmering—perfect for sauces that need a steady, low boil.
Choosing the right pots makes the difference between a kitchen shortcut and a frustration. Cast‑iron and stainless‑steel pans with a flat, magnetic base are the best cookware for bridge zone induction, while anything with a warped bottom will struggle to stay in sync with the dual‑zone field. If you ever notice a dip in temperature or an error code, a quick glance at an induction cooktop zone mapping guide will help you pinpoint whether the pan is mis‑aligned or if the power settings need a tweak. Understanding induction cookout power settings explained can also prevent over‑loading a single zone, keeping your cookware evenly heated and your meals on schedule.
Choosing the Ideal Cookware for Bridgezone Performance
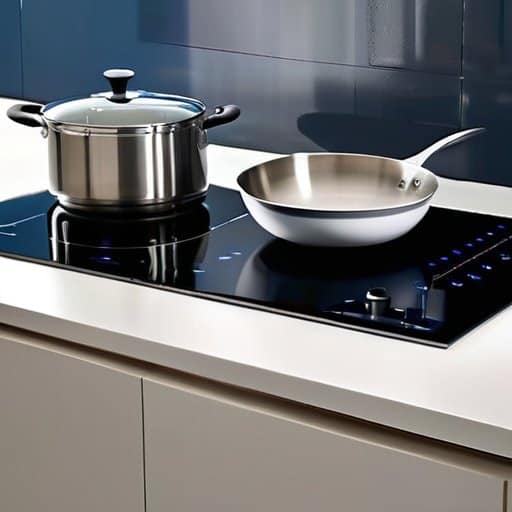
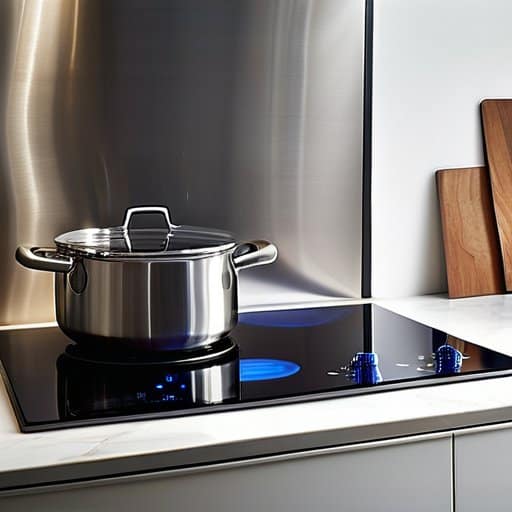
When you’re eyeing the bridge zone, the first thing to check is the pan’s magnetic base. A good magnetic base guarantees the cooker can sense the pot and lock onto that wider surface without hunting for a hotspot. Look for stainless‑steel or cast‑iron pots that have a seamless, ferrous layer on the bottom—those will hug the bridge area like a glove. If the base is too thin, the cooktop may skip the zone altogether, leaving you with a cold spot right where you need the heat.
Next, match the pan’s diameter to the bridge’s dimensions. A 12‑inch skillet or a 10‑inch saucepan will sit comfortably across the two adjacent zones, letting the induction field spread evenly. Also, make sure the cookware is flat‑bottomed; even a slight dome can create an air gap that drops the temperature in the center.
Power Settings Demystified Mastering Bridgezone Heat Control
When you first tap the power knob, the cooktop isn’t just blasting a single temperature onto the whole surface. In bridge‑zone mode it ramps the output gradually, letting you gauge how much heat the oversized pan actually needs. Start at a modest setting, watch the indicator light flicker, then lift the dial just enough to feel the bridge‑zone power ramp kicking in. This gentle approach keeps the base of a stockpot from scorching while still bringing water to a boil quickly.
Once the liquid is simmering, fine‑tune the setting in 1‑step increments. The sensor‑driven control will hold a steady temperature, so you can slide the dial down a notch and still maintain precision heating without the dreaded “jump‑to‑high” surge. The result? Evenly cooked sauces and a stove that never feels like a roller‑coaster. Your kitchen workflow stays smooth, and cleanup stays easy.
Bridge Zone Mastery: 5 Pro Tips for Your Induction Kitchen
- Size up your pot—if the base is larger than a single coil, the bridge zone is your secret weapon.
- Keep the cookware flat; warped bottoms will leave dead zones and waste power.
- Start low, then boost—most bridge‑zone burners respond best to a gradual increase in wattage.
- Use magnetic‑compatible pans; a simple magnet test can save you from a cooking mishap.
- Clean the bridge area regularly—residue can block the magnetic field and reduce efficiency.
Quick Takeaways
Bridge zones let you spread large pots across the entire cooktop, giving you more cooking space without sacrificing power.
Pairing the right flat‑bottomed cookware with the zone maximizes heating efficiency and keeps temperature consistent.
Mastering the power‑level settings for bridge zones means you can fine‑tune heat quickly, saving time and energy in the kitchen.
Bridging the Heat
“A bridge zone turns my stovetop into a culinary runway—slide a 12‑inch pot across the surface and the power follows, so I never miss a beat.”
Writer
Wrapping It All Up
In this tour of induction‑cooktop bridge zones we’ve mapped the hidden real‑estate on your stovetop, unpacked the physics that let a single burner spread its magnetic field across a broader surface, and showed why that extra “real‑estate” translates into measurable kitchen efficiency. We walked through the checklist for picking the right flat‑bottomed pots and pans, demystified the power‑level knobs that keep you from overshooting the sweet spot, and highlighted how those extra centimeters of heating area can shave minutes off a simmer or give you room for a family‑size stockpot without compromising performance. In short, bridge zones give you more heat, more flexibility, and more control—all without a single extra watt of power.
So, the next time you fire up the stove, think of that invisible bridge as an invitation to level‑up your culinary game. Whether you’re a weekday meal‑prepper or a weekend grill‑master, embracing the extra surface means you can toss a larger Dutch oven into the mix, sear a pan‑full of veggies while a sauce simmers beside it, and still keep everything perfectly calibrated. Let the bridge zone be your secret weapon for next‑level cooking, turning a modest countertop into a versatile workstation. Go ahead—experiment, expand your repertoire, and let the extra heat‑real‑estate spark a few new favorite recipes.
Frequently Asked Questions
Can I use any size pot on a bridge zone, or do I need a specific diameter to get the full heating area?
You can drop a larger pot onto a bridge zone, but to harvest the whole “bridge” you’ll want a pan that’s wide enough to span both heating elements. In practice that means a diameter of roughly 30 cm (12 in) or more, depending on your cooktop’s layout. Anything smaller will still work—just the outer edges won’t be fully activated, so you won’t see the full power boost. And, of course, the pot must be magnetic.
How do I adjust the power level when cooking on a bridge zone without accidentally overheating my pans?
First, start low—most bridges default to 1500 W, but you can dial it back to 800–1000 W for gentle simmering. Use the “+/-” buttons (or the touch slider) to fine‑tune in 25‑W increments; you’ll feel a subtle click each step. Keep an eye on the pan’s handle; if it’s getting hot, drop the setting a notch. And remember: a quick 30‑second pause lets the zone settle before you crank it back up, or try a lower preset.
Will using a bridge zone affect the overall energy consumption of my induction cooktop compared to a regular zone?
Great question! Using a bridge zone doesn’t magically drain more power than a regular zone—it still draws the same total wattage you set. The only difference is that the energy is spread over a larger surface, so you might notice a slightly steadier temperature and a tiny dip in peak power if you’re juggling two pans at once. In practice, the overall energy consumption stays virtually identical; you just get extra flexibility without a noticeable efficiency penalty.