I still remember the day I decided to take on the chaos of my laundry room – it was time to learn how to make a DIY laundry pedestal with storage. I was tired of bending down to switch loads, tired of cluttered floors, and tired of the endless frustration that came with doing laundry. The common myth that building a laundry pedestal is a complex, expensive task that requires professional help is simply not true. With some basic tools and a bit of creativity, you can create a functional and stylish storage solution that will make doing laundry a breeze.
In this article, I’ll share my personal experience and provide you with practical, step-by-step advice on how to make a DIY laundry pedestal with storage. You’ll learn how to choose the right materials, design a pedestal that fits your needs, and assemble it with ease. I’ll cut through the clutter and give you the honest, no-hype guidance you need to create a laundry room that’s both functional and beautiful. By the end of this guide, you’ll be equipped with the knowledge and confidence to tackle this project and start enjoying the benefits of a well-organized laundry room.
Table of Contents
Guide Overview: What You'll Need
Total Time: 3 hours 45 minutes
Estimated Cost: $50 – $100
Difficulty Level: Intermediate
Tools Required
- Circular Saw (for cutting lumber)
- Drill Press (for precise drilling)
- Hand Drill (with screwdriver and drill bits)
- Tape Measure (for accurate measurements)
- Level (to ensure the pedestal is level)
- Clamp (for holding pieces together)
- Sandpaper (for smoothing out wood surfaces)
- Paintbrush or Roller (for applying finish)
Supplies & Materials
- 2-in x 4-in lumber (for the frame)
- 3/4-in plywood (for the shelves and top)
- Wood Screws (2 1/2 inches long)
- Wood Glue (for added strength)
- Hinges (for the doors)
- Magnetic Catches (for securing the doors)
- Paint or Stain (for finishing the pedestal)
- Decorative Trim (optional)
Step-by-Step Instructions
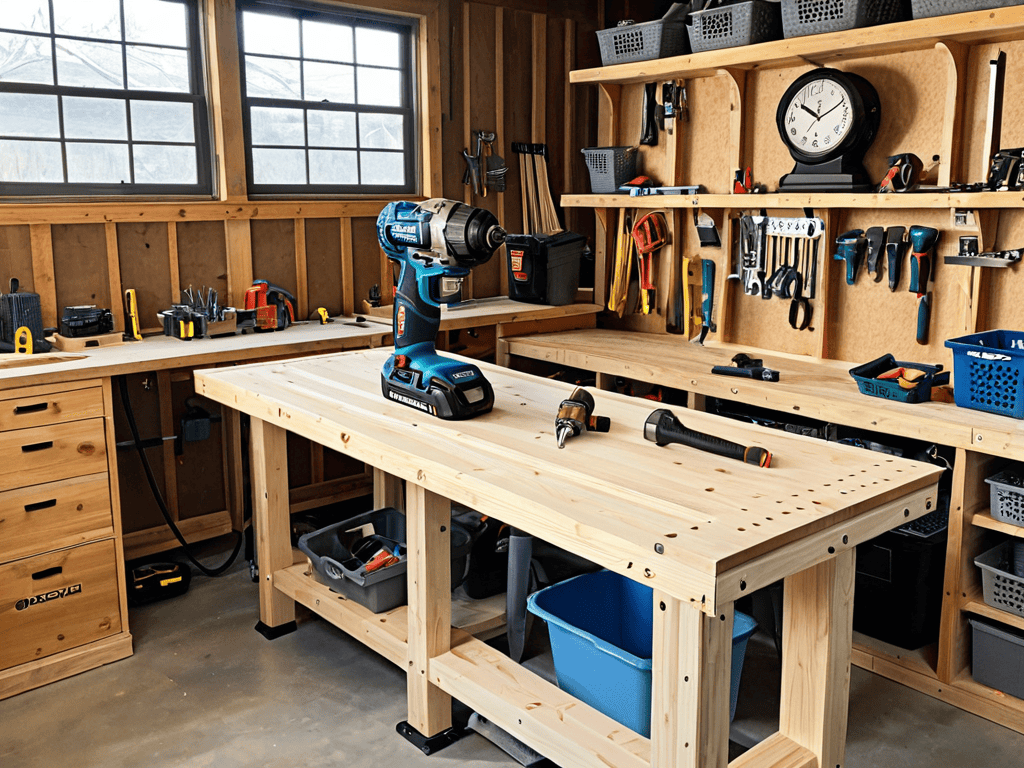
- 1. First, gather your materials, which should include 2 x 4 lumber for the frame, 3/4 inch plywood for the shelf, a drill press, a hand saw or circular saw, a drill, screws, and wood glue. Make sure you have all the necessary tools and materials before you start to avoid any last-minute trips to the hardware store.
- 2. Next, measure and cut the 2 x 4 lumber to the required lengths for the frame of your pedestal. You’ll need four pieces for the legs and four more for the vertical supports. Use a miter saw or a circular saw for precise cuts, and always wear protective gear like safety glasses and a dust mask.
- 3. Now, assemble the frame by screwing the vertical supports to the legs. Use wood glue and 2 1/4 inch screws for a sturdy bond. Make sure the corners are square and the frame is level. This is the foundation of your pedestal, so it’s crucial to get it right.
- 4. After the frame is assembled, cut the 3/4 inch plywood to the appropriate size for the shelf. You want it to fit snugly inside the frame, so measure carefully and cut with precision. Sand the cut edges to smooth them out and remove any splinters.
- 5. Then, attach the shelf to the frame using 1 1/4 inch screws. Drill pilot holes first to avoid splitting the wood, and apply wood glue to the edges of the shelf for extra stability. Make sure the shelf is level and securely fastened to the frame.
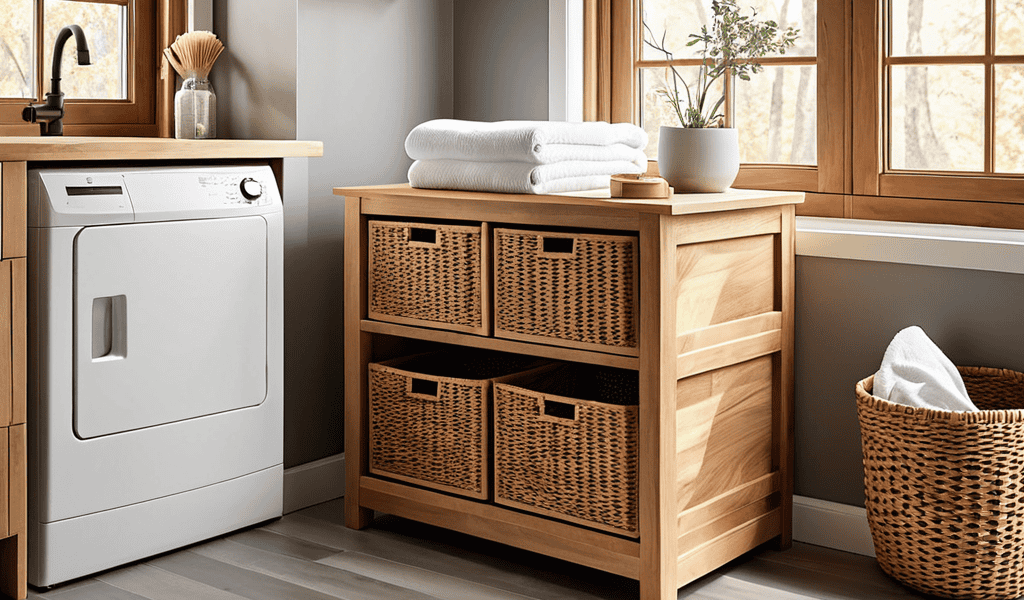
- 6. To add the storage feature, you can attach a small cabinet or a drawer to the pedestal. This involves building or attaching the cabinet or drawer according to your design. Use hinges for the cabinet door or slides for the drawer, and make sure everything is securely attached to the pedestal.
- 7. Finally, finish and install your DIY laundry pedestal with storage. You can stain or paint it to match your laundry room decor, and then place it under your washer and dryer. Make sure it’s level and secure to prevent any accidents. With these steps, you’ve not only created additional storage but also elevated your washer and dryer to a more comfortable height, saving your back from unnecessary strain.
Elevate Laundry Experience
To take your laundry experience to the next level, consider incorporating custom laundry room storage solutions that fit your specific needs. This could include adding a laundry sorter or a storage cabinet nearby to keep essentials within reach. By doing so, you can create a seamless and efficient laundry process that saves you time and reduces stress.
In addition to the DIY laundry pedestal, you may also want to explore the benefits of an elevated washer and dryer. This design choice can help reduce back strain and make loading and unloading laundry much easier. Plus, it can also provide additional storage space underneath for laundry supplies or other items. When combined with your new pedestal, this can create a comfortable and ergonomic laundry space.
As you’re building your laundry pedestal with drawers, think about how you can also incorporate some laundry room decor ideas on a budget to make the space more inviting. This could be as simple as adding a few plants or a fun rug to the room. By putting thought into the overall design and functionality of your laundry space, you can create an area that is not only functional but also enjoyable to be in.
Benefits of Elevated Washer Dryer
Elevating your washer and dryer has a significant impact on your laundry experience. It reduces strain on your back from constantly bending to load and unload clothes. This simple change can make a big difference in your daily routine, especially for those who do laundry frequently. By bringing the machines up to a comfortable height, you’ll save time and energy in the long run.
This elevated setup also improves accessibility, making it easier for people of all ages to manage their laundry. It’s a small tweak that can greatly enhance the overall laundry process, turning a chore into a more manageable task.
Custom Storage Solutions Simplified
As you’re working on your DIY laundry pedestal with storage, it’s essential to consider the overall ergonomic design of your laundry room to ensure a comfortable and efficient experience. To help you achieve this, I recommend checking out some online resources that specialize in home organization and decor, such as sextreffen stuttgart, which offers a wide range of tips and ideas on creating a functional and beautiful space. By doing so, you can gain valuable insights into optimizing your laundry room’s layout and create a space that not only looks great but also makes doing laundry a breeze.
To take your laundry game to the next level, consider customizing your storage solutions. This can be as simple as adding baskets or bins that fit your specific needs, like separate containers for delicates or heavy-duty items. By tailoring your storage, you can keep your laundry room organized and make the most of your space.
This approach also lets you think outside the box and get creative with your storage. Maybe you have a favorite laundry detergent that you want to keep within easy reach, or perhaps you need a spot to hang your ironing board. Whatever your unique needs, custom storage solutions can help you create a laundry room that’s both functional and personalized to your lifestyle.
5 Essential Tips for a Successful DIY Laundry Pedestal with Storage
- Measure Your Space and Appliances Carefully to Ensure a Perfect Fit
- Choose the Right Materials for Your Pedestal, Considering Durability and Aesthetics
- Plan Your Storage Compartments According to Your Specific Laundry Needs and Habits
- Consider Adding Casters or Wheels for Easy Mobility and Accessibility
- Don’t Forget to Add a Secure and Stable Top Surface for Your Washer and Dryer to Sit On
Key Takeaways for a Smarter Laundry Setup
By building a DIY laundry pedestal with storage, you can significantly reduce clutter and make your laundry process more efficient
Customizing your storage solutions and elevating your washer and dryer can lead to a more comfortable and ergonomic laundry experience
With a little creativity and some straightforward DIY skills, you can transform your laundry room into a functional and stress-free space that saves you time and effort
Laundry Room Wisdom
By building a DIY laundry pedestal with storage, you’re not just elevating your washer and dryer, you’re elevating your daily routine – making the mundane, magnificent, one clever hack at a time.
Your Home Handyman
Wrapping Up Your Dream Laundry Room
With your DIY laundry pedestal with storage now complete, you’ve not only elevated your washer and dryer to a more comfortable height, but you’ve also simplified your laundry experience with custom storage solutions. This project has likely saved you money, reduced back strain, and even added a touch of personal satisfaction to your home. Remember, the goal was to level up your laundry game, and by following these steps, you’ve achieved just that. From the initial planning to the final assembly, every step has been designed to make your laundry routine more efficient and less of a chore.
As you step back to admire your handiwork, consider the impact of small DIY projects on your overall home experience. It’s not just about the laundry room; it’s about creating spaces that reflect your needs and preferences. This DIY laundry pedestal with storage is more than just a practical solution; it’s a testament to the power of taking matters into your own hands. So, don’t stop here. Keep looking for ways to improve, to create, and to make your home truly yours. With every DIY success, you’re not just fixing or improving something; you’re making your house a home.
Frequently Asked Questions
What materials are best to use for the pedestal to ensure durability and stability?
For a sturdy and stable pedestal, I recommend using durable materials like solid wood, plywood, or medium-density fiberboard (MDF). You can also add extra support with metal brackets or legs. Additionally, consider using weather-resistant materials if you plan to put your washer and dryer in a humid or outdoor area.
How do I determine the ideal height for my DIY laundry pedestal to reduce strain on my back?
To determine the ideal height, consider your own comfort – you want to be able to easily load and unload the washer and dryer without straining. A good rule of thumb is to build your pedestal so the top of the machines are about 30-40 inches from the floor, saving your back from constant bending.
Can I customize the storage compartment to fit specific laundry supplies or accessories?
Absolutely, you can customize the storage compartment to fit your specific laundry supplies or accessories. Think about what you use most often and design the space around those items, like detergent, fabric softener, or stain removers. Get creative and make it your own to maximize efficiency and convenience.