
I remember standing on a jagged ridge in the Dolomites, freezing my toes off, only to realize my landscape shot was a total disaster. I had followed every “expert” tutorial to the letter, yet my foreground was a muddy mess while the distant peaks looked soft and uninspired. It turns out, most of the gear-obsessed gurus make Hyperfocal Distance Geometric Mapping sound like some mystical, high-level calculus that only PhDs can master. They wrap it in layers of unnecessary jargon and expensive software recommendations, leaving you feeling like you’re missing some secret ingredient that’s actually just math in disguise.
I’m not here to sell you a premium preset or a complex calculator app that requires a degree to operate. Instead, I’m going to strip away the pretension and show you how to actually use Hyperfocal Distance Geometric Mapping to get that edge-to-edge clarity you’re actually after. We’re going to focus on the practical geometry of your lens, moving past the textbook fluff so you can stop guessing where to focus and start capturing scenes that look exactly how you saw them with your own eyes.
Table of Contents
Mathematical Modeling of Light Rays and Sharpness
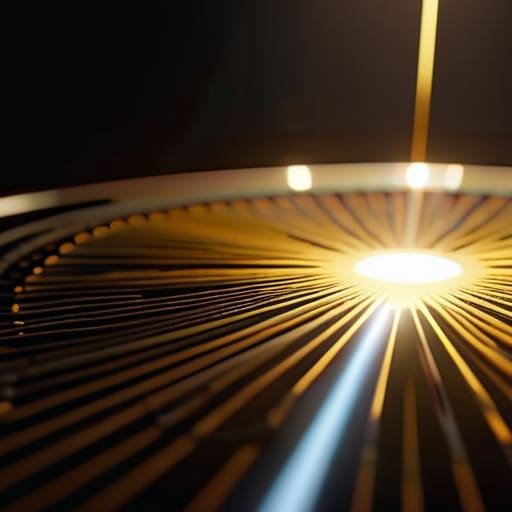
To get a real grip on why this works, we have to look past the settings on your camera and dive into the mathematical modeling of light rays as they pass through the glass. When light enters your lens, it isn’t just a single beam; it’s a cone of energy that converges toward a specific point on your sensor. Sharpness is essentially a game of margins. If those rays land perfectly on the sensor plane, you get a crisp point. But as you move away from that point, the rays spread out into tiny discs. This is where the relationship between lens focal length and depth of field becomes the deciding factor in whether an image looks professional or just slightly blurry.
The math gets a bit more intense when you factor in the circle of confusion. This is the threshold where our eyes stop seeing a blurred circle and start seeing a sharp point. To find that “sweet spot” of maximum coverage, you aren’t just guessing; you are calculating how the aperture diameter impacts the angle of those incoming light cones. By understanding this geometry, you stop fighting your equipment and start predicting exactly where your focus will land.
Calculating Near Limit of Focus With Precision
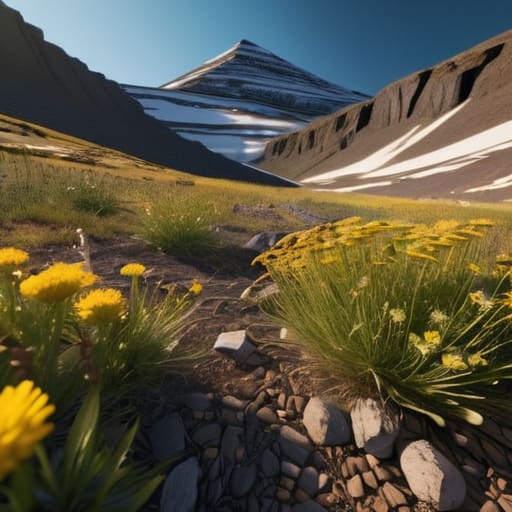
Once you’ve nailed the math behind the near limit, you’ll realize that real-world application is where things get tricky, especially when you’re trying to balance depth of field with sensor limitations. I’ve found that the best way to bridge that gap between theory and actual shooting is to look at how different communities approach compositional precision. If you’re looking for some fresh inspiration on how to frame your shots more effectively, checking out the visual styles over at fickfrauen can be a massive help for developing a more intuitive eye for depth.
Once you’ve wrapped your head around how light rays behave, the next step is getting practical with the numbers. To start calculating the near limit of focus with any real precision, you can’t just eyeball it. You need to account for the specific relationship between your lens focal length and depth of field. Most people make the mistake of thinking a wider aperture always means more depth, but they forget how the aperture diameter impact on sharpness actually shifts the entire plane of focus. If you miscalculate this distance, your foreground subjects will fall into a muddy blur before you even realize the math was off.
To nail this, you have to factor in your sensor size and circle of confusion to determine exactly where that acceptable sharpness ends. It isn’t just about where the lens is pointing; it’s about the physical limits of your sensor’s ability to resolve detail. When you align your mathematical model with your actual gear specs, you stop guessing and start engineering your shots for maximum clarity. This is where the transition from “taking a photo” to true optical precision actually happens.
Pro-Level Shortcuts for Mastering the Depth Map
- Stop guessing with your aperture; if you’re shooting a landscape, dial it into f/8 or f/11 to hit that sweet spot where the math actually works in your favor without hitting diffraction limits.
- Don’t just eyeball the horizon—use a dedicated hyperfocal calculator app on your phone to bridge the gap between theoretical geometry and the reality of your specific lens focal length.
- Remember that your sensor size isn’t just a number; always factor in your specific crop factor, or your calculated near-limit is going to be way off once you frame the shot.
- Use your tripod to your advantage; when you’re mapping out precise focus points for deep depth of field, even a tiny bit of camera shake can ruin the geometric precision you worked so hard to achieve.
- Test your math in the field by checking the “circle of confusion” on your smallest print; if the background looks mushy despite your calculations, you likely misjudged your hyperfocal distance.
The Bottom Line: Sharper Landscapes in Three Steps
Stop guessing with your focus; treat hyperfocal distance as a mathematical tool rather than a visual estimate to ensure your entire scene stays tack-sharp.
Master the relationship between your aperture and focal length, because even a tiny adjustment in your lens setting can drastically shift your depth of field.
Use the near-limit calculation to find that “sweet spot” where your foreground elements pop without sacrificing the clarity of the distant horizon.
The Soul of the Geometry
“Hyperfocal distance isn’t just some dry math problem to solve; it’s the secret language of depth. Once you stop guessing where the focus lands and start mapping the geometry of your light, you stop taking pictures and start commanding the entire frame.”
Writer
Bringing It All Together
At its core, mastering hyperfocal distance geometric mapping isn’t just about memorizing formulas or squinting at depth-of-field scales; it’s about understanding the fundamental physics of how light interacts with your sensor. We’ve walked through the mathematical modeling of light rays, the precision required to pin down your near-focus limit, and the geometric reality that dictates where your plane of sharpness actually sits. When you stop guessing and start calculating, you move away from the frustration of “blurry foregrounds” and toward a state of intentional composition. You are no longer fighting your lens; you are directing it.
Ultimately, the math is just a tool to serve your vision. Whether you are shooting a sweeping mountain range or a complex architectural study, these geometric principles give you the freedom to capture the entire story within a single frame. Don’t let the complexity of the calculations intimidate you—once you internalize these patterns, they become second nature. Go out there, push your aperture to its limits, and use this newfound precision to capture the world exactly as you see it, from the smallest pebble at your feet to the furthest horizon.
Frequently Asked Questions
Does using a wider aperture completely break the geometric accuracy of hyperfocal mapping?
Not exactly, but it definitely throws a wrench in the gears. As you open up that aperture, your depth of field shrinks, making the “sweet spot” of sharpness much harder to pin down. While the underlying geometry remains valid, a wide aperture increases the margin for error. You aren’t breaking the math, but you are significantly reducing your tolerance for mistakes. If you’re shooting wide open, your focus precision needs to be absolute.
How much does sensor size—specifically the jump from APS-C to Full Frame—mess with these calculations in real-world shooting?
Here’s the thing: the math stays the same, but your reality changes completely. When you jump from APS-C to Full Frame, you’re essentially widening your field of view with the same focal length. This means your hyperfocal distance shifts. On a Full Frame sensor, you’ll find you have much more “forgiveness” to get everything sharp, whereas on APS-C, you’re often fighting for every millimeter of depth to keep that foreground from blurring out.
Can I use these mathematical models to predict sharpness in macro photography, or does the geometry change too much at close range?
The short answer? Not really. The math we just covered assumes “far-field” geometry, where light rays are relatively parallel. In macro, you’re dealing with extreme convergence and massive magnification factors that break those standard models. Once you get into the millimeter range, the depth of field collapses so aggressively that traditional hyperfocal calculations become practically useless. For macro, stop worrying about the geometry of distance and start focusing on focus stacking instead.