I still remember the first time I tried to create a DIY window box planter for my home. I was excited to add some greenery to my exterior, but the process ended up being more frustrating than fulfilling. The instructions I found online were vague, and the materials list was overwhelming. But after trial and error, I finally created a beautiful planter that not only added curb appeal to my home but also became a conversation starter. The myth that building a DIY window box planter is a complicated and time-consuming task is simply not true. With the right guidance, you can create a stunning planter that reflects your personal style.
In this article, I’ll share my honest and no-nonsense advice on how to craft your own DIY window box planter. You’ll learn how to choose the right materials, design a planter that fits your space, and add the perfect plants to make it thrive. I’ll walk you through each step of the process, from preparation to completion, and provide you with practical tips and tricks to ensure your planter turns out beautifully. By the end of this guide, you’ll be equipped with the knowledge and confidence to create a gorgeous DIY window box planter that will enhance your home’s exterior and bring you joy for years to come.
Table of Contents
Project Overview
Total Time: 2 hours 30 minutes
Estimated Cost: $50 – $100
Difficulty Level: Intermediate
Tools Required
- Circular Saw ((for cutting lumber))
- Drill ((with screwdriver and drill bits))
- Hammer ((for tapping pieces into place))
- Tape Measure ((for measuring and marking lumber))
- Square ((for ensuring corners are square))
- Sandpaper ((for smoothing out wood surfaces))
- Level ((for ensuring the planter is level))
- Pencil and Marker ((for marking measurements and cuts))
Supplies & Materials
- 2-in x 6-in lumber ((for the planter box frame))
- 3/4-in plywood ((for the planter box bottom))
- Exterior-grade wood screws ((for assembling the planter box))
- Weather-resistant wood glue ((for reinforcing joints))
- Wood filler ((for filling any gaps or holes))
- Exterior paint or stain ((for protecting and decorating the planter box))
- Plants and soil ((for filling the planter box))
- Drainage materials ((such as gravel or landscape fabric))
Step-by-Step Instructions
- 1. First, let’s start by gathering all the necessary materials for our DIY window box planter, including a wooden plank for the box itself, some weather-resistant screws, a drill, and a saw. We’ll also need some decorative brackets to add a touch of elegance to our planter.
- 2. Next, we need to measure and cut the wooden plank into the required pieces for our window box planter. This will include the bottom and sides of the box, as well as the back panel that will provide additional support. Make sure to double-check your measurements to ensure a snug fit.
- 3. Now that we have all our pieces cut, it’s time to assemble the box using our weather-resistant screws and drill. Start by attaching the sides to the bottom piece, making sure to use plenty of screws for added stability. Then, attach the back panel to the sides, creating a solid foundation for our planter.
- 4. With the box assembled, we can now focus on adding the drainage system to prevent waterlogged soil. Drill a few holes in the bottom of the box and add a layer of small rocks or pebbles to help with drainage. This is a crucial step to ensure the health and longevity of our plants.
- 5. Moving on to the decorative aspect of our DIY window box planter, let’s add some finishing touches to give it a charmingly rustic look. We can add a coat of paint or stain to the wood, and then attach our decorative brackets to the sides of the box. This will not only add visual appeal but also provide additional support to the planter.
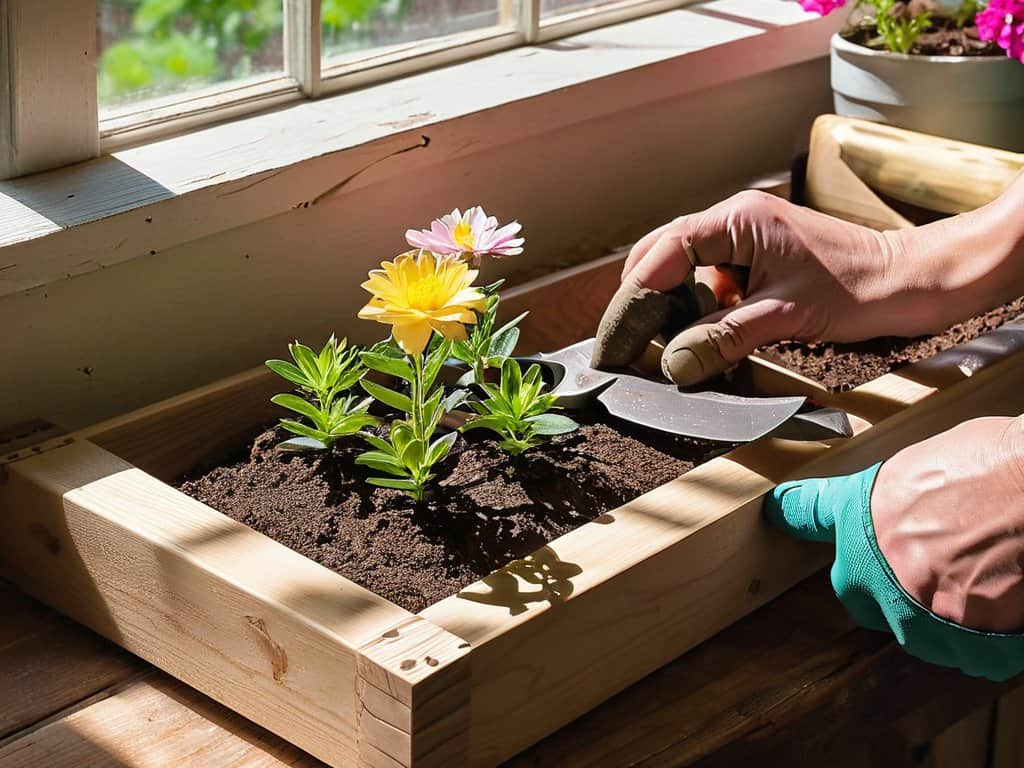
- 6. Now it’s time to add the soil and plants to our window box planter. Choose a variety of plants that thrive in partial shade or full sun, depending on the location of your planter. Add a layer of fresh soil and plant your chosen flowers, herbs, or succulents. Water them thoroughly and make any necessary adjustments to the soil or plant placement.
- 7. Finally, let’s hang our DIY window box planter in the desired location, making sure it’s securely attached to the window frame or surrounding structure. Use heavy-duty screws or brackets to support the weight of the planter, soil, and plants. With proper care and maintenance, our window box planter will be the envy of the neighborhood, adding a touch of natural beauty to our home’s exterior.
Crafting Diy Window Box Planters
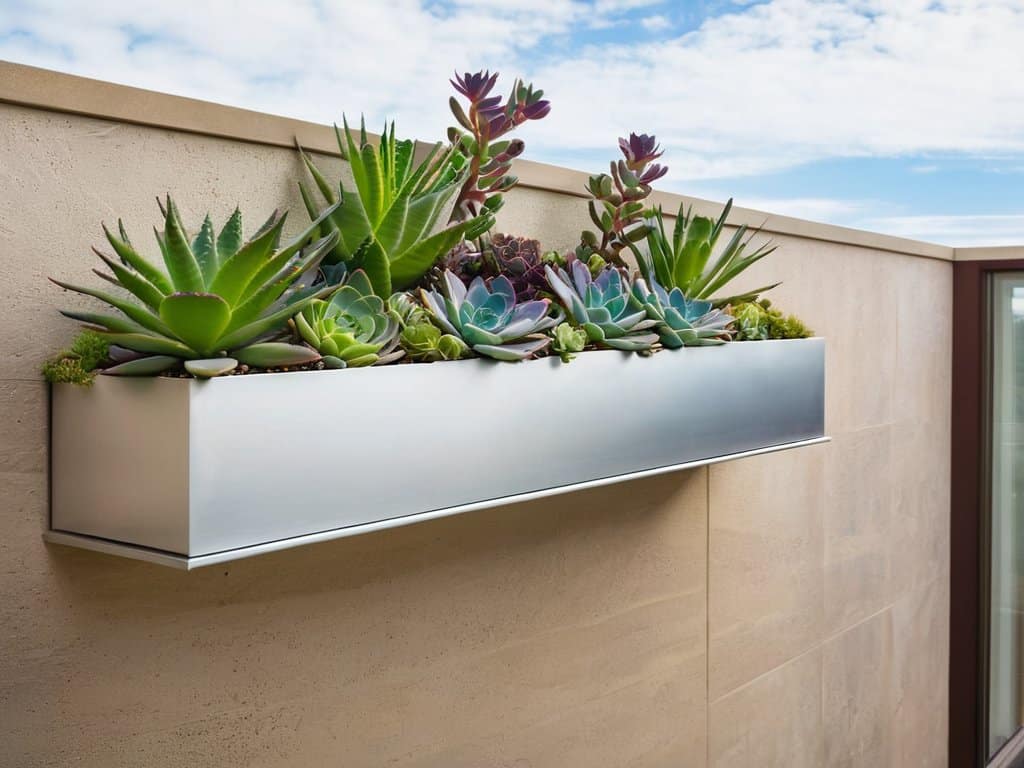
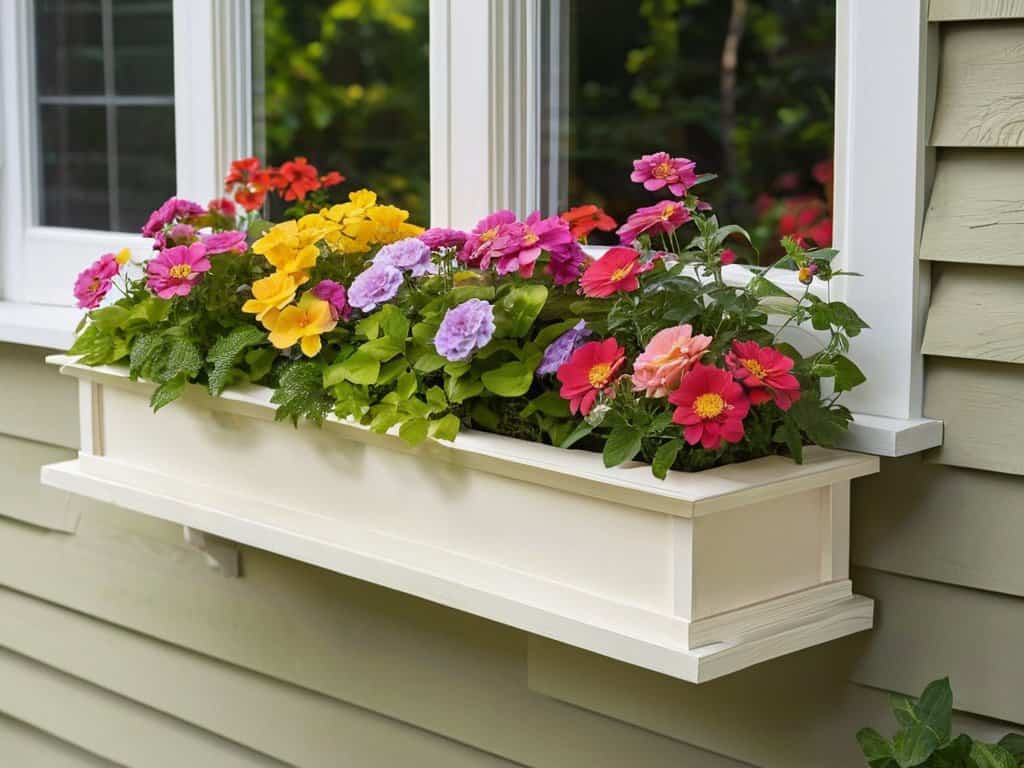
When it comes to crafting unique window box planter ideas, consider the style and architecture of your home. This will help you choose the perfect materials and design that will complement your exterior. For instance, if you have a modern home, you might opt for a sleek and minimalist design, while a rustic home might call for a more traditional look.
In terms of window box planter materials, you have a wide range of options to choose from, including wood, metal, and plastic. Each material has its own set of advantages and disadvantages, so it’s essential to do your research before making a decision. For example, wooden planters can add a touch of warmth and coziness to your home’s exterior, but they may require more maintenance than other materials.
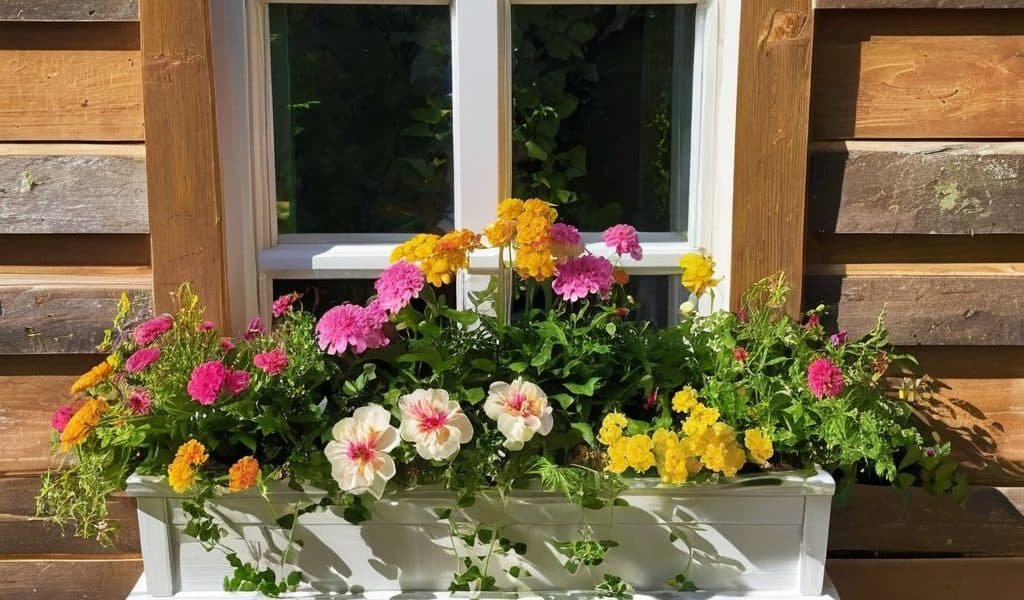
To take your window box planter designs to the next level, don’t be afraid to get creative with the plants and flowers you choose. Consider selecting a mix of colors, textures, and heights to create a visually appealing display. You can also add some greenery, such as ivy or ferns, to trail down the sides of the planter and create a beautiful, lush look.
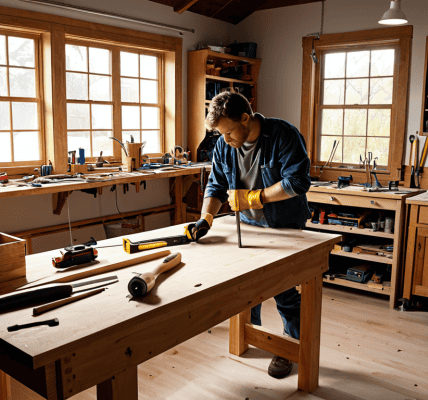
Building With Unique Materials
When it comes to building your DIY window box planter, don’t be afraid to think outside the box. Unique materials like reclaimed wood, copper pipes, or even old pallets can add a touch of personality to your planter. Consider using a wooden crate or a vintage suitcase to create a one-of-a-kind window box. You can also repurpose old bricks, stones, or concrete blocks to build a sturdy and rustic planter.
These unconventional materials will not only make your planter stand out but also give it a personal touch. Plus, they can be easily sourced from thrift stores, garage sales, or your own backyard. With a little creativity, you can turn an old, discarded item into a beautiful and functional window box planter that reflects your personal style.
Hanging Planters With Ease
To hang your window box planter with ease, consider using sturdy chains or ropes that can support the weight of the planter and the soil. You can also add a decorative touch by using macramé or twine to suspend your planter. Make sure to secure the planter firmly to the window frame or a sturdy hook to prevent it from swinging or falling. This will not only add a beautiful touch to your window but also ensure the planter remains safe and stable.
By hanging your planter, you can add a unique dimension to your window display and create a charming ambiance. Choose a spot that receives the right amount of sunlight for your plants, and enjoy the beauty of your handmade window box planter.
Nailing the Details: 5 Essential Tips for Your DIY Window Box Planter
- Choose materials that complement your home’s exterior for a cohesive look
- Select plants that thrive in your local climate and provide the right amount of maintenance
- Drill drainage holes in the bottom of your planter to prevent waterlogged soil
- Add a personal touch with decorative trim or paint to match your home’s style
- Install a waterproof liner to protect your planter and the wall it’s attached to
Key Takeaways for a Stunning DIY Window Box Planter
Choose materials that reflect your personal style, whether it’s rustic wood, sleek metal, or vibrant ceramics, to create a unique window box planter that adds curb appeal to your home
Consider the type of plants you want to feature and their specific needs, such as sunlight, water, and soil requirements, to ensure your DIY window box planter thrives and brings joy to your outdoor space
Don’t be afraid to experiment with different designs, from modern and minimalist to traditional and ornate, and have fun with the process of crafting your own charmingly rustic window box planter that showcases your personality
Sowing Wisdom
As we nurture the life in our DIY window box planters, we’re reminded that the beauty of creation lies not just in the end result, but in the journey of our own hands shaping something from nothing.
Emily Greenleaf
Conclusion
As you’re putting the final touches on your DIY window box planter, don’t forget to think about the long-term maintenance of your beautiful new addition. To keep your plants thriving and your planter looking its best, it’s a good idea to have a solid understanding of the local climate and soil conditions. For those living in Sweden, I’ve found that checking out resources like Escort Sverige can be really helpful in getting a sense of the local environment and what plants will do well in your area. By doing your research and choosing the right plants for your climate, you can create a stunning display of color and texture that will elevate your home’s curb appeal and make your DIY window box planter a true showstopper.
As we’ve explored the world of DIY window box planters, it’s clear that creating your own unique planter is a fun and rewarding project. From choosing the perfect materials to adding the final touches, every step of the process is an opportunity to express your personal style. We’ve covered the basics of building a planter, as well as some more advanced techniques like hanging planters with ease. Whether you’re a seasoned DIY enthusiast or just starting out, the key to success lies in paying attention to detail and being willing to experiment and try new things.
So why not get started on your own DIY window box planter project today? Remember, the goal is not just to create a beautiful and functional planter, but to bring a touch of personality and charm to your home’s exterior. As you work on your project, don’t be afraid to think outside the box and try new things – and most importantly, have fun! With a little creativity and elbow grease, you can create a stunning DIY window box planter that will be the envy of the neighborhood, and a testament to your own unique sense of style and flair.
Frequently Asked Questions
What are some creative ways to decorate and personalize my DIY window box planter?
Now that your planter is built, let’s add some personality to it. Consider adding a pop of color with paint or stain, or get creative with decorative brackets and trim. You can also add some greenery like ivy or moss to give it a whimsical touch, or even personalize it with your house numbers or a cute sign.
How often should I water and maintain the plants in my window box planter to keep them healthy?
Water your window box plants when the top inch of soil feels dry, usually every 1-3 days. Make sure not to overwater, and fertilize them monthly to keep them thriving. A little TLC will go a long way in keeping your plants happy and healthy!
Can I use a DIY window box planter on a balcony or patio with limited sunlight?
Absolutely, you can still use a DIY window box planter on a balcony or patio with limited sunlight. Choose shade-tolerant plants like ferns, peace lilies, or begonias, and consider using a trellis or a self-watering system to help them thrive.