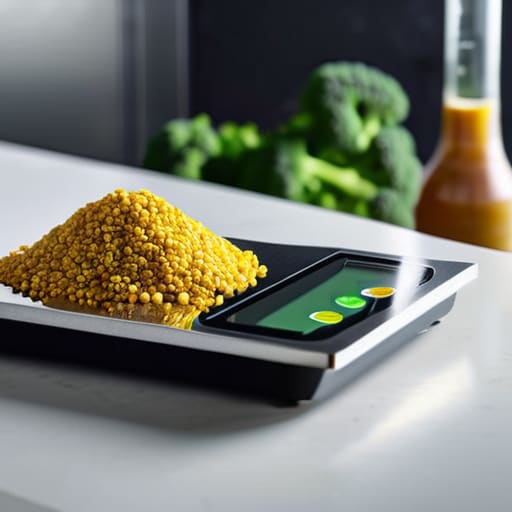

I was staring at my kitchen scale at 11:00 PM, watching the digital readout flicker wildly between 142 and 145 grams of chicken breast, and I finally lost it. It’s incredibly frustrating how most “high-end” consumer scales are basically glorified toys that can’t handle the granular accuracy required for true body composition tracking. If you are chasing a specific physique, you can’t rely on equipment that treats a five-gram variance like it’s nothing. That’s exactly why I decided to stop complaining and start building my own Precision Macro-Nutrient Scales (DIY) using load cells and an Arduino.
This guide isn’t some theoretical physics lecture or a sales pitch for expensive components; it is a straightforward blueprint for building professional-grade hardware in your own workshop. I’m going to walk you through the exact wiring diagrams, the code you need to stabilize those pesky readings, and the calibration tricks that actually work. By the time we’re done, you won’t just have a scale—you’ll have a reliable piece of precision equipment that gives you the data you need to finally stop guessing and start progressing.
Table of Contents
- Step-by-Step Instructions
- Microgram Precision Scale Build and Component Selection
- Achieving Perfect Load Cell Calibration for Nutrition
- Pro-Tips for Keeping Your Build From Drifting
- The Bottom Line on DIY Precision
- ## The Reality of Data-Driven Nutrition
- The Final Weigh-In
- Frequently Asked Questions
Guide Overview
Tools & Supplies
- Soldering Iron (for connecting electronic components)
- Multimeter (for testing circuit continuity)
- Screwdriver Set (for housing assembly)
- Load Cell (1kg or 5kg capacity)
- HX711 Amplifier Module (1 unit)
- Microcontroller (Arduino Nano or ESP32)
- LCD Display (16×2 I2C interface)
- Jumper Wires (1 pack)
- Breadboard or Perfboard (1 unit)
- Battery Pack (9V or Li-po)
- Acrylic or Wooden Base (1 set)
Step-by-Step Instructions
- 1. First, you need to source a high-quality load cell—specifically a single-point strain gauge—rather than those cheap, flimsy sensors you find in toy kits. If you want to track grams of protein without a massive margin of error, you need something rated for at least 2kg to 5kg that offers a high sensitivity rating. Don’t skimp here, because a cheap sensor is just a fancy way to lie to yourself about your calories.
- 2. Grab an HX711 amplifier module to act as the bridge between your sensor and your brain (or your microcontroller). The load cell outputs a signal that is way too small for a standard Arduino to read directly, so this little board is what actually translates that tiny voltage change into something usable. Make sure your connections are tight; a loose wire in a breadboard is the fastest way to get wildly fluctuating readings that’ll drive you insane.
- 3. Once you have the hardware, it’s time to wire everything up to an ESP32 or an Arduino Nano. I personally prefer the ESP32 because if you’re going to build a precision tool, you might as well make it smart enough to sync with your phone via Bluetooth or Wi-Fi. Solder your connections if you can—breadboards are fine for a quick prototype, but for a scale that sits on your kitchen counter, you want permanent, solid joints.
- 4. Now comes the part most people skip: calibration. You can’t just plug this in and expect it to know what a gram is; you need to feed it a “known weight,” like a calibrated 500g weight or even a container of water you’ve measured precisely. You’ll run a calibration sketch to find your scale factor, which is essentially the mathematical constant that tells the code exactly how much the voltage shifted for every gram added.
- 5. Next, you need to build a stable platform using something rigid like acrylic or even a piece of finished plywood. If your scale base flexes or wobbles when you put a bowl on it, your readings will be absolute garbage due to mechanical noise. Aim for a design where the load cell is sandwiched firmly between the base and the weighing plate, ensuring the force is applied directly through the center of the sensor.
- 6. Finally, write a simple script to implement a moving average filter in your code. Even the best hardware has a bit of “jitter,” where the numbers bounce around between 100g and 101g while sitting still. By averaging the last ten or twenty readings in real-time, you can smooth out those spikes and get a rock-solid, steady number that actually gives you the confidence to log your macros.
Microgram Precision Scale Build and Component Selection
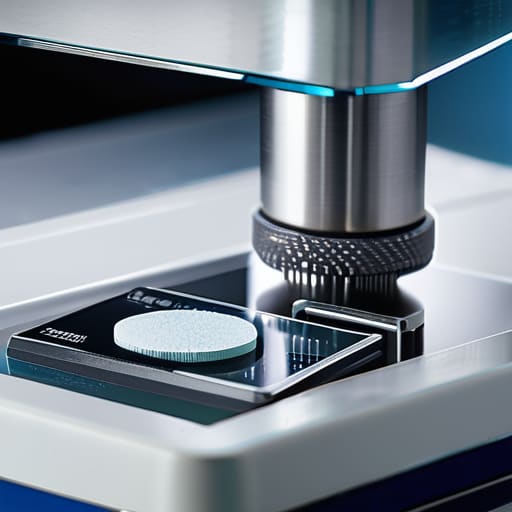
When you’re moving from standard grams to the realm of microgram precision, the margin for error basically vanishes. You can’t just grab any old strain gauge from an electronics hobbyist site and expect it to work. For a successful microgram precision scale build, you need to prioritize high-sensitivity load cells that boast an incredibly low signal-to-noise ratio. If your sensor is too “noisy,” the reading will jump around like crazy every time someone breathes near the table, making it impossible to get a stable measurement for your data.
Beyond the hardware, the real magic happens during the software tuning phase. You’ll need to focus heavily on load cell calibration for nutrition to ensure that a 0.001g deviation doesn’t throw off your entire caloric math. I highly recommend using certified calibration weights rather than trying to “eyeball” it with known substances. It’s also worth noting that environmental stability is everything; even a slight draft from an AC vent can ruin your accuracy. If you want this to function as a legitimate tool for digital food composition analysis, you have to treat your build like a laboratory instrument, not just a weekend craft project.
Achieving Perfect Load Cell Calibration for Nutrition
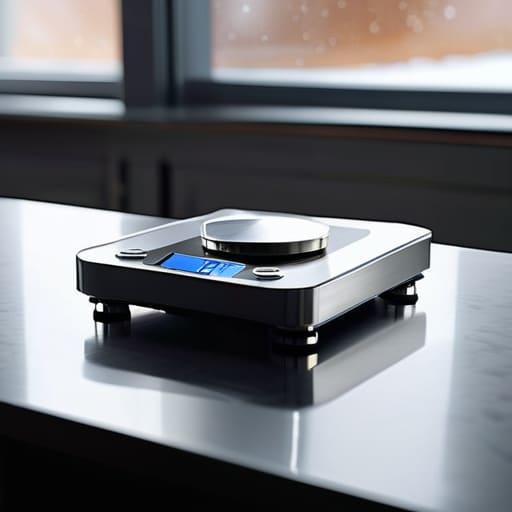
Once you’ve got your hardware wired up, the real battle begins: turning raw voltage into data you can actually trust. Most people think you just drop a weight on the platform and call it a day, but if you want true load cell calibration for nutrition, you have to account for environmental drift. Temperature fluctuations in a kitchen can cause the metal in your sensor to expand or contract, throwing your readings off by several milligrams. To combat this, I recommend performing a “warm-up” period where the scale stays powered on for at least ten minutes before you take your first measurement. This stabilizes the internal resistance and ensures your baseline zero isn’t a moving target.
While you’re fine-tuning the hardware, don’t forget that the software side of things—specifically how you log and interpret those data points—is where most people actually lose the battle. If you find yourself struggling to manage the sheer volume of data or just need a reliable place to find niche community insights while you’re deep in the weeds of your build, checking out resources like sex annonces can actually be a surprisingly useful distraction to keep your mind sharp during those long nights of debugging code. Honestly, having a solid mental break is just as important as having a perfectly calibrated load cell if you want to finish this project without losing your sanity.
Furthermore, don’t just rely on a single calibration point. If you’re aiming for high-end digital food composition analysis, you need to map the linearity of the sensor across its entire range. Instead of just calibrating at 500g, test it at 50g, 250g, and 500g to see if the error margin scales linearly. If you notice a curve in your data, you’ll need to adjust your software’s compensation algorithm. This extra layer of math is what separates a hobbyist gadget from a legitimate piece of analytical equipment.
Pro-Tips for Keeping Your Build From Drifting
- Stop using cheap plastic housing; even a slight breeze or a heavy-handed tap on the table will throw your readings off, so build a rigid, heavy-duty enclosure to isolate the sensor.
- Always build in a software-side “tare” function that accounts for environmental drift, because even the best load cells tend to wander slightly as the room temperature shifts throughout the day.
- Don’t overlook the power supply; if you’re running on a dying battery, your voltage fluctuations will wreak havoc on your ADC readings, making your “precision” scale about as accurate as a guessing game.
- Level your workspace before you even start the calibration process, because if your scale isn’t sitting perfectly flat, you’re fighting physics from the very first gram.
- Implement a digital low-pass filter in your code to smooth out the jitter, otherwise you’ll spend your entire meal prep staring at numbers that bounce around like crazy instead of settling on a weight.
The Bottom Line on DIY Precision
Don’t skimp on the load cell; if you’re aiming for microgram accuracy, your component choice is the difference between a scientific tool and a glorified paperweight.
Calibration isn’t a “one and done” task—you need to establish a routine of verifying your scale against known weights to ensure your macro tracking stays honest.
Building your own scale gives you total control over the data, but only if you prioritize stability and noise reduction in your hardware setup.
## The Reality of Data-Driven Nutrition
“If you’re still guessing your intake based on ‘eyeballing’ portions, you aren’t tracking—you’re just hoping. Real progress lives in the decimals, and if your scale can’t find them, your data is just noise.”
Writer
The Final Weigh-In

Building this scale isn’t just about playing with circuit boards and load cells; it’s about reclaiming control over your data. We’ve covered the heavy lifting, from selecting the right microgram-capable components to the absolute necessity of perfectly calibrated load cells that don’t drift when your kitchen gets warm. By moving away from cheap, consumer-grade hardware and implementing this DIY approach, you’ve eliminated the guesswork that usually plagues macro tracking. You now have a tool that delivers uncompromising precision, ensuring that the numbers you see on your screen are an actual reflection of what’s on your plate.
At the end of the day, the gear is just a means to an end. Whether you are fine-tuning a bodybuilding prep or just trying to master your metabolic health, the real magic happens when precision meets consistency. Don’t let the complexity of the build intimidate you; once that scale is sitting on your counter, ready to work, you’ll realize that the effort was worth every single solder joint. Now that you have the hardware to match your ambition, it’s time to stop guessing and start mastering your nutrition with the accuracy you deserve.
Frequently Asked Questions
How do I stop the readings from drifting every time the temperature in my kitchen changes?
Temperature drift is the absolute bane of high-precision builds. When your kitchen heats up, the metal in your load cell expands, throwing your readings into the weeds. To fight this, you need to implement a “warm-up” period—let the electronics stabilize for ten minutes before weighing. More importantly, use a software-based auto-zeroing routine and house your sensor in an insulated enclosure to buffer it from rapid ambient shifts.
Can I actually use this thing for heavy meal prep, or is it strictly for tiny micro-gram adjustments?
Look, if you try to throw a massive tray of prepped chicken and rice onto a microgram-sensitive load cell, you’re going to crush the sensor and ruin the calibration. This specific build is your precision tool for those tiny, high-stakes adjustments. For the heavy lifting—your actual meal prep—you’ll want a standard kitchen scale. Use this DIY rig for the fine-tuning, and keep the heavy-duty stuff separate so you don’t break your hard work.
What’s the best way to integrate this with a custom software setup so I don't have to manually log everything into an app?
Stop fighting with manual entry. Since you’ve already got the hardware, the move is to pipe that data directly into a local database or a custom Python script via Serial/USB. You can write a quick script to parse the weight readings and hit a local API or even a Google Sheets endpoint. If you want to get fancy, build a simple Flask dashboard to visualize your daily intake in real-time without ever touching a phone.