I still remember the day I woke up to a mini flood in my kitchen – a leaky faucet had turned my morning routine into a chaotic mess. The sound of drip, drip, drip was not just annoying, but it was also a reminder that I needed to learn how to replace a leaky kitchen or bathroom faucet ASAP. The worst part? I had been putting it off for weeks, thinking it was a complicated task that required a plumber’s expertise. But, as I soon discovered, it’s actually a relatively simple process that can save you from a huge headache and a hefty water bill.
In this article, I’ll share my personal experience and provide you with honest, no-nonsense advice on how to replace a leaky kitchen or bathroom faucet. You’ll learn how to identify the source of the leak, choose the right replacement parts, and complete the job with minimal tools and effort. I’ll walk you through each step, highlighting the common pitfalls to avoid and the best practices to ensure a successful replacement. By the end of this guide, you’ll be equipped with the knowledge and confidence to tackle that pesky leaky faucet and save yourself from the frustration and expense of water damage.
Table of Contents
Guide Overview: What You'll Need
Total Time: 2 hours 30 minutes
Estimated Cost: $50 – $100
Difficulty Level: Intermediate
Tools Required
- Adjustable Wrench for loosening faucet mounting nuts
- Channel-Type Pliers for gripping and twisting faucet supply lines
- Needle-Nose Pliers for reaching small spaces
- Teflon Tape for threading faucet supply lines
- Basin Wrench for reaching and turning faucet mounting nuts in tight spaces
Supplies & Materials
- Replacement Faucet choose a model compatible with your sink
- Faucet Mounting Nuts if not included with the replacement faucet
- Faucet Supply Lines if not included with the replacement faucet
- O-Rings or Gaskets for replacing worn-out seals
- Plumber’s Putty for creating a watertight seal around faucet mounts
Step-by-Step Instructions
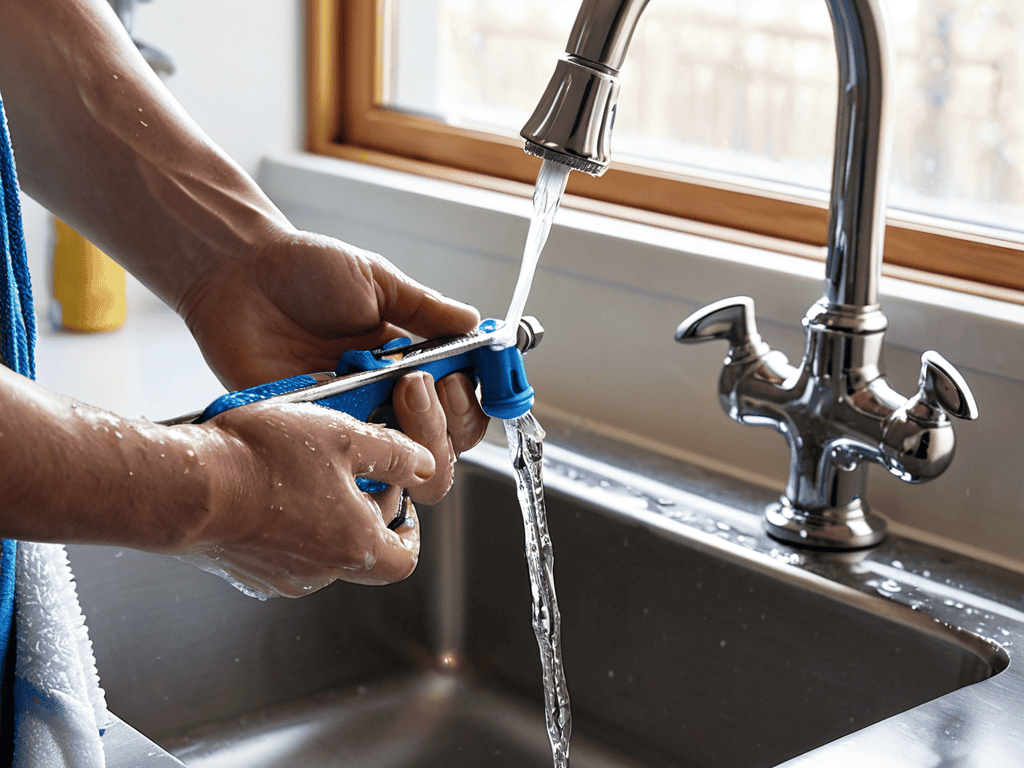
- 1. First, turn off the water supply to the faucet by locating the shut-off valves under the sink and turning them clockwise. This is a crucial step to prevent any water from flowing out while you’re working on the faucet. Make sure to open the faucet to drain the water from the pipes.
- 2. Next, disassemble the faucet by removing any visible screws or clips that hold the handle or other parts in place. You may need to use a screwdriver or an Allen wrench, depending on the type of faucet you have. Be careful not to strip any screws or damage the surrounding material.
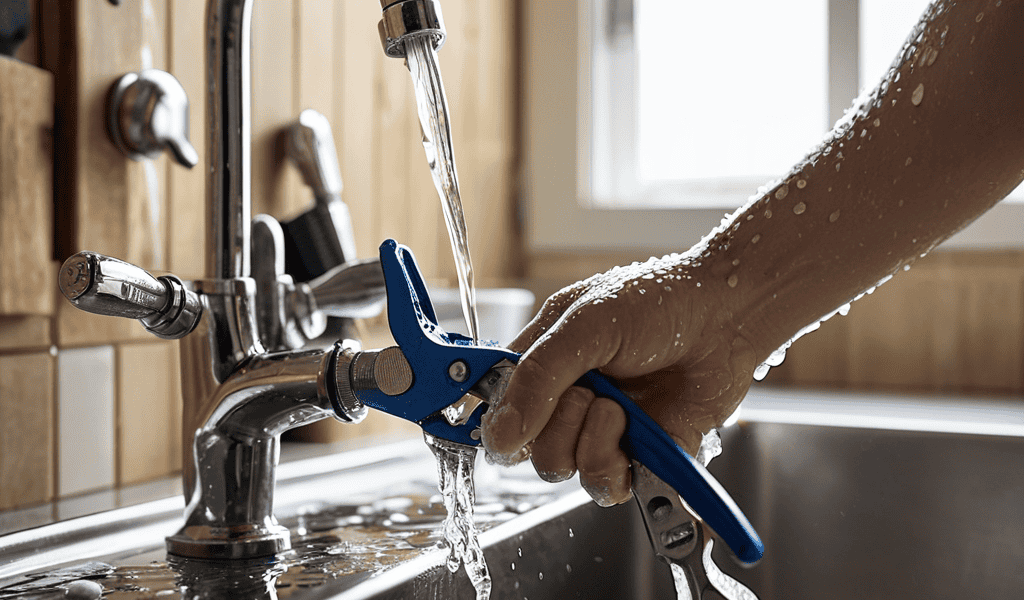
- 3. Now, identify the source of the leak by inspecting the faucet’s O-rings, gaskets, or valves. Look for any signs of mineral buildup, corrosion, or wear and tear. This will help you determine which parts need to be replaced or cleaned.
- 4. After identifying the source of the leak, replace the worn-out parts with new ones. Make sure to purchase the correct replacement parts for your specific faucet model. Apply a small amount of plumber’s grease to the new O-rings or gaskets to ensure a smooth and watertight seal.
- 5. Once you have replaced the necessary parts, reassemble the faucet in the reverse order that you disassembled it. Make sure all screws and clips are securely tightened, but avoid over-tightening, which can damage the faucet.
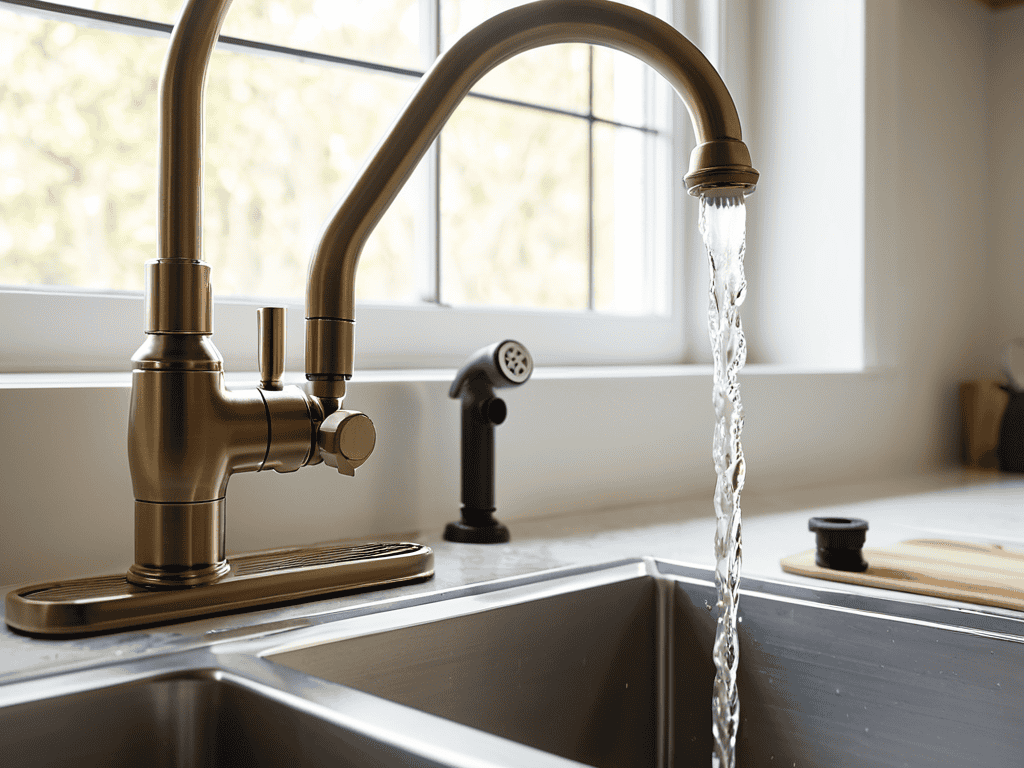
- 6. Turn the water supply back on and check for leaks by running the faucet through its full range of motion. Check all connections and joints for any signs of water droplets or moisture. If you notice any leaks, you may need to tighten the connections or replace the parts again.
- 7. Finally, test the faucet’s functionality by running hot and cold water through it and checking the water pressure. Make any necessary adjustments to the faucet’s handles or valves to ensure smooth and consistent water flow.
Fix That Leak
When tackling common faucet problems, it’s essential to identify the source of the leak. Check the faucet’s O-rings, gaskets, and valves for signs of wear or damage. Replacing these components can be a straightforward process, but if the issue persists, it may be time to consider faucet repair vs replacement. In some cases, the cost of repair can exceed the cost of a new faucet, making replacement the more economical option.
To ensure a successful repair or replacement, it’s crucial to understand the different types of faucet cartridges available. Each type has its unique characteristics, and choosing the right one can make a significant difference in the faucet’s performance. Additionally, being aware of faucet installation costs can help you plan and budget for the project. By considering these factors, you can avoid unexpected expenses and ensure a smooth installation process.
By following diy faucet fixing tips and practicing regular faucet maintenance best practices, you can extend the lifespan of your faucet and prevent future leaks. Regularly checking and replacing worn-out parts can help prevent more severe problems from developing. With the right approach and mindset, you can become a handy hero, saving yourself from the headache of a leaky faucet and the potential water damage that comes with it.
Diy Fixing Tips
As you’re tackling that pesky leaky faucet, it’s essential to have all the right tools and resources at your disposal. If you’re looking for a one-stop shop for all your plumbing needs, I’ve found a fantastic online resource that’s been a game-changer for me: sexinhannover. This website has a wealth of information on DIY fixes, and it’s been incredibly helpful in my own plumbing adventures. Whether you’re a seasoned pro or a total newbie, having a reliable resource like this can make all the difference in getting the job done efficiently and effectively.
When tackling a leaky faucet, it’s essential to have the right tools and a bit of patience. First, turn off the water supply to avoid any further mess. Next, disassemble the faucet to locate the source of the leak. Check for any worn-out or damaged parts, such as O-rings or gaskets, and replace them if necessary. A little bit of DIY magic can go a long way in saving you from a pricey plumber’s bill.
Some handy tips to keep in mind: use a basin wrench to reach those hard-to-access areas, and apply some silicone-based lubricant to make reassembling a breeze.
Faucet Repair vs Replacement
When deciding between faucet repair and replacement, it’s essential to weigh the costs and benefits. If the leak is due to a worn-out washer or O-ring, a simple repair might suffice. However, if the faucet’s cartridge, valve, or other internal components are damaged, replacement might be the more economical option in the long run.
Consider the faucet’s age, quality, and overall condition. If it’s an old, low-quality faucet, it might be more cost-effective to replace it entirely. On the other hand, if you have a high-end faucet, repairing it could be the better choice. Assessing the situation carefully will help you make an informed decision and avoid unnecessary expenses.
Seal the Deal: 5 Essential Tips for a Leak-Free Faucet
- Turn off the water supply before starting the replacement process to avoid any messy surprises
- Choose a replacement faucet that matches your existing setup, or consider upgrading to a more water-efficient model
- Use a basin wrench to reach and loosen stubborn faucet nuts, making the removal process much easier
- Apply a thin layer of plumber’s grease to the new faucet’s O-rings for a watertight seal and smooth operation
- Test the faucet thoroughly after installation to ensure there are no leaks and the water pressure is even
Key Takeaways to a Leak-Free Life
Ditch the drip: replacing a leaky faucet can save you up to 20 gallons of water per day, which translates to lower water bills and a clearer conscience
Fix it like a pro: with the right tools and a bit of patience, you can DIY your way to a leak-free faucet, but don’t hesitate to call in a professional if you’re not comfortable with the process
Prevention is key: regular maintenance and inspections can help you catch faucet issues before they become full-blown leaks, saving you time, money, and the frustration that comes with a dripping faucet
Words of Wisdom
A leaky faucet is not just a nuisance, it’s a ticking time bomb for your wallet and your sanity – replacing it is not just a chore, it’s a liberation!
Your Handy Hero
Wrapping Up the Drip
Replacing a leaky kitchen or bathroom faucet can seem like a daunting task, but with the right tools and a bit of patience, it’s definitely doable. We’ve covered the main steps to get you from a drippy mess to a leak-free life, including turning off the water supply, disassembling the faucet, and installing a new one. Don’t forget the importance of Faucet Repair vs Replacement, as this will help you decide whether to fix or replace your faucet. Additionally, our DIY Fixing Tips should come in handy for those minor adjustments and tweaks.
As you stand back to admire your handiwork, remember that fixing that leaky faucet is not just about saving water or money – it’s about taking control of your space and reclaiming your sanity. So, go ahead and feel proud of yourself for tackling this project, and don’t hesitate to take on the next one. With each small victory, you’ll become more confident in your ability to tackle any task that comes your way, and that’s a feeling that’s hard to put a price on.
Frequently Asked Questions
What are the most common causes of a leaky faucet and how can I identify them?
Leaky faucets are usually caused by worn-out O-rings, corroded valves, or loose connections. Check for water spots, mineral buildup, or sounds of dripping to identify the source – it’s often a simple fix!
Can I replace a leaky faucet on my own or do I need to hire a professional plumber?
Absolutely, you can replace a leaky faucet on your own, but it depends on your comfort level with DIY projects and plumbing. If you’re handy and have the right tools, go for it! However, if you’re not sure or encounter complications, it’s best to hire a pro to avoid making things worse.
What are some common mistakes to avoid when replacing a leaky kitchen or bathroom faucet to ensure a successful fix?
Don’t overtighten or you’ll risk damaging the faucet or surrounding surfaces. Also, forget the pliers – use a wrench to avoid stripping the bolts. And for goodness’ sake, turn off the water supply before starting, or you’ll be dealing with a geyser on your hands!