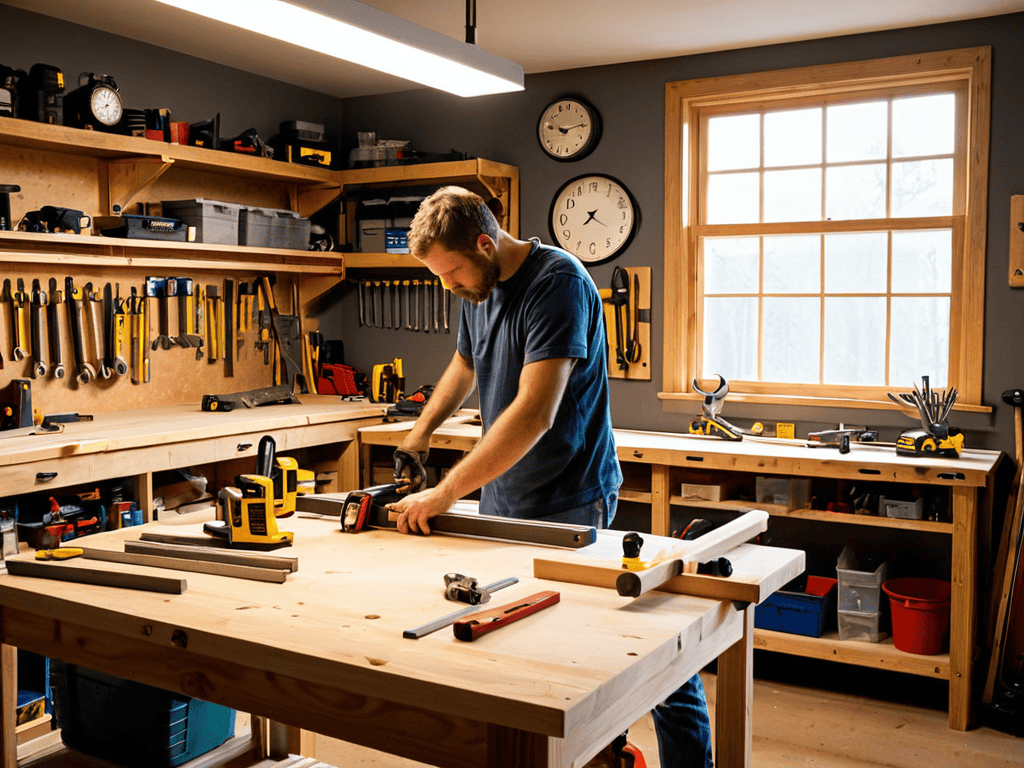
I still remember the first time I tried to build my own DIY shelves – it was a disaster. I had envisioned a sleek, modern storage solution, but what I ended up with was a wobbly, uneven mess. It was a frustrating experience, but it taught me a valuable lesson: with the right guidance and a bit of patience, anyone can create their own beautiful and functional DIY shelves. The myth that building DIY shelves is a daunting task that only experienced carpenters can tackle is simply not true. In fact, with a few simple tools and some easy-to-follow instructions, you can create your own unique storage solutions that add a personal touch to any room.
In this article, I’ll share my own experiences and tips for building DIY shelves that are both stylish and functional. You’ll learn how to choose the right materials, design your shelves to fit your specific needs, and bring your project to life with minimal fuss and expense. I’ll cut through the hype and provide you with practical advice and honest guidance on how to overcome common obstacles and achieve professional-looking results. Whether you’re a seasoned DIY enthusiast or a complete beginner, this guide will walk you through every step of the process, from planning to completion, and help you create your own amazing DIY shelves.
Table of Contents
Guide Overview: What You'll Need
Total Time: 2 hours 30 minutes
Estimated Cost: $50 – $100
Difficulty Level: Intermediate
Tools Required
- Drill (with screwdriver and drill bits)
- Saw (circular or handheld)
- Tape measure
- Level
- Hammer
- Sandpaper (for smoothing out wood)
- Paintbrush or roller (for finishing)
Supplies & Materials
- 2-in x 4-in lumber for shelf frames
- 3/4-in plywood for shelf boards
- Wood screws
- Wood glue
- Wall anchors (for hanging shelves)
- Paint or stain (for finishing)
- Decorative trim (optional)
Step-by-Step Instructions
- 1. First, gather your materials, which should include 2x4s for the shelves’ frames, 3/4-inch plywood for the shelves themselves, wood screws, a drill, a saw (circular or handheld, whichever you prefer), a measuring tape, and a level to ensure everything is perfectly straight. Don’t forget to pick up some sandpaper and paint or stain if you want to add a finish to your shelves.
- 2. Next, plan your shelf design, taking into account the space where the shelves will go and what you intend to put on them. Consider the height, depth, and number of shelves you need. Make a sketch or use an online tool to visualize your project before you start building. This step is crucial for avoiding mistakes and ensuring your DIY shelves fit perfectly in the intended space.
- 3. Now, cut the frame pieces according to your plan. Use your saw to cut the 2x4s into the required lengths for the sides, top, bottom, and any additional supports you’ve decided to include. Be precise with your cuts, as this will affect the overall stability and appearance of your shelves.
- 4. Assemble the frame by drilling screw holes and then using your wood screws to attach the sides, top, and bottom together. Make sure to use your level to ensure the frame is perfectly square and stable. If necessary, use clamps to hold the pieces together while you screw them into place.
- 5. Cut the plywood to the appropriate size for each shelf, using your saw. Sand the cut edges to smooth them out and remove any splinters. This step is important for both safety and aesthetics, as it will give your shelves a professional finish.
- 6. Attach the shelves to the frame using wood screws. Start from the bottom and work your way up, ensuring each shelf is level before attaching the next one. This method helps prevent any tilting or unevenness in the final product.
- 7. Finally, if desired, apply a finish to your shelves. This could involve sanding the entire piece to smooth out any imperfections, followed by painting or staining to match your home’s decor. Allow any paint or stain to dry completely before placing your new shelves in position and loading them up.
Elevate With Diy Shelves
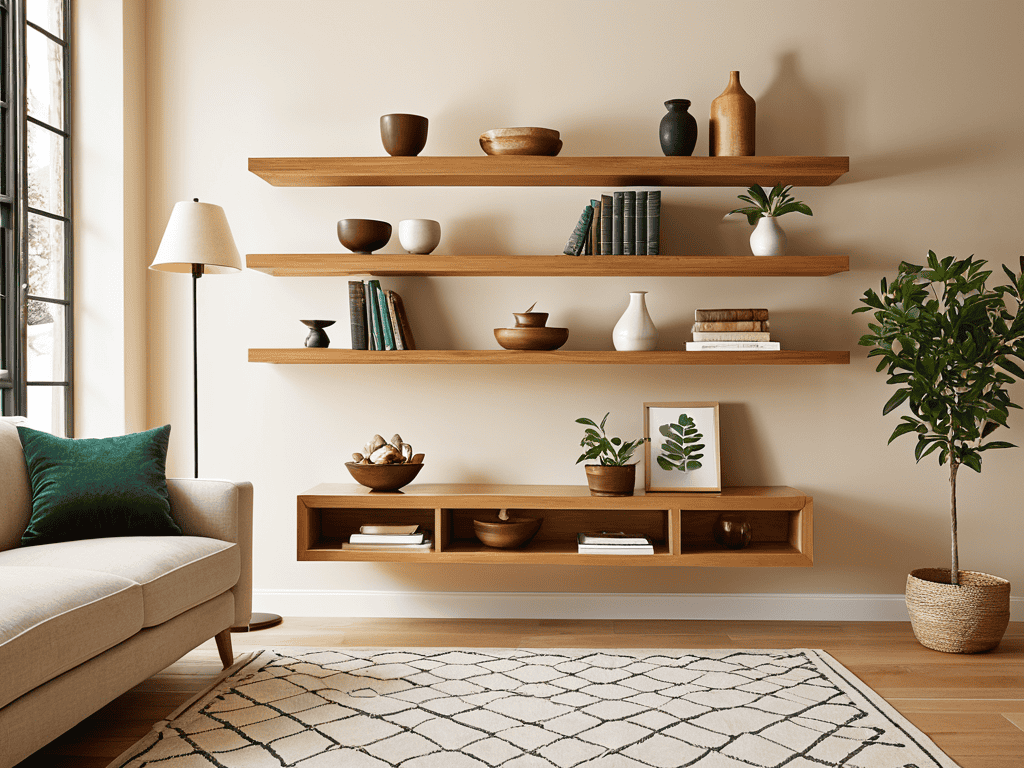
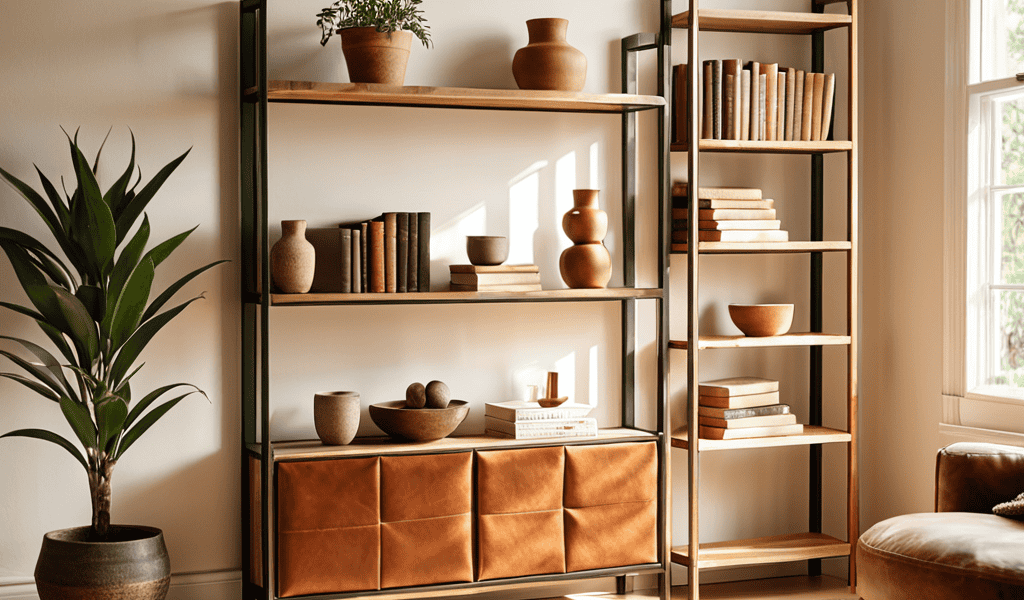
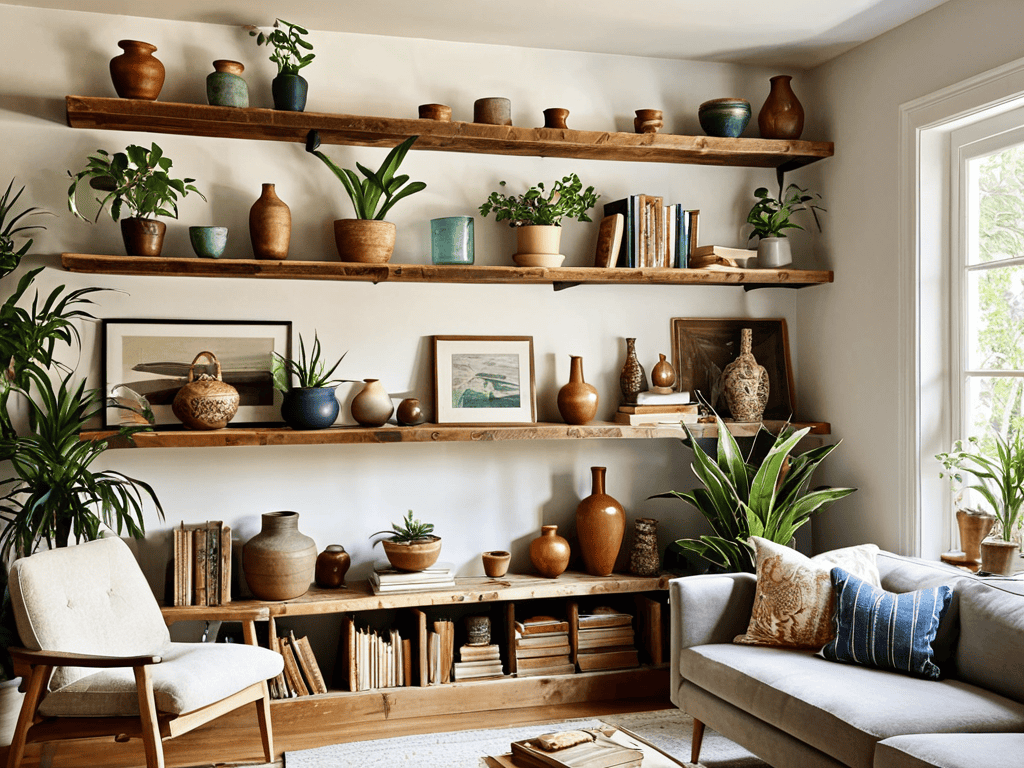
To take your space to the next level, consider incorporating custom shelving units that reflect your personal style. This can be achieved by selecting unique materials or designs that complement the existing decor. For instance, a floating shelf installation can add a touch of modernity to any room, while a traditional wooden shelf design can bring warmth and coziness.
When planning your shelving project, think about the overall functionality you want to achieve. If you’re looking to maximize storage in a small area, corner shelf organization can be a game-changer. This clever technique allows you to make the most of often-wasted space, keeping your belongings tidy and within reach. By implementing this strategy, you can maintain a clutter-free environment that feels more spacious and relaxed.
In addition to the aesthetic benefits, garage storage solutions can also play a significant role in keeping your workspace organized. By investing in durable diy shelving materials, you can create a system that withstands heavy use and keeps your tools and equipment neatly stored. This, in turn, can help you work more efficiently and safely, making the most of your time and energy.
Custom Shelving Units Made Easy
To take your DIY shelves to the next level, consider creating custom shelving units that fit your space perfectly. This can be as simple as adjusting the length or width of your shelves to fit a specific wall or corner. By doing so, you can create a seamless look that adds to the overall aesthetic of your room. Plus, custom shelving units can help you maximize your storage space, making the most of even the smallest areas.
As you’re working on your DIY shelving project, it’s essential to have a reliable source for all your building and decoration needs. I’ve found that having a go-to online directory can be a total game-changer, saving you time and effort in the long run. For instance, if you’re looking for a specific type of material or tool, you can search for it on a website like nzgirls, which often has a wide range of listings for various services and products. By using such resources, you can focus on the fun part of the project – bringing your unique design vision to life and enjoying the satisfaction of creating something with your own hands.
With a little creativity, you can design a custom shelving unit that not only stores your belongings but also becomes a decorative piece in its own right. Think about adding unique features like decorative trim, crown molding, or even a built-in lighting system to give your shelves some extra flair.
Floating Shelf Installation Secrets
To take your DIY shelving game to the next level, consider the art of floating shelf installation. It’s all about creating a seamless, minimalist look that adds a touch of sophistication to any room. The secret lies in choosing the right materials and mastering the art of concealment – think hidden brackets and carefully planned placement.
By getting creative with floating shelves, you can add depth and visual interest to your space without overwhelming it. Plus, it’s a great way to showcase your favorite decorative pieces or books, keeping them front and center while maintaining a sense of airy elegance. With a little patience and practice, you’ll be a pro at installing these sleek, modern wonders in no time.
Shelf Care: 5 Essential Tips for DIY Shelf Perfection
- Measure Twice, Cut Once: Double-check your measurements before cutting any wood to avoid costly mistakes and ensure a snug fit
- Choose the Right Wood: Select a type of wood that fits your desired aesthetic and durability needs, from rustic pine to sleek maple
- Screw It: Use the right type of screws for the job, whether it’s drywall anchors or wood screws, to keep your shelves securely in place
- Add a Personal Touch: Incorporate decorative trim, paint, or stain to give your DIY shelves a unique personality that reflects your style
- Level Up: Make sure your shelves are perfectly level to prevent items from toppling over and to create a polished, professional look
Key Takeaways for DIY Shelf Mastery
I can add a personal touch to any room with custom DIY shelves that reflect my unique style and personality
Building my own shelves is easier than I thought, and with the right tools and techniques, I can create functional and beautiful storage solutions
By getting creative with DIY shelves, I can not only maximize my storage space but also turn a mundane area into a stunning focal point in my home
Shelf Reflections
There’s something therapeutic about building your own DIY shelves – it’s not just about storing your belongings, it’s about crafting a space that tells your story.
A DIY Enthusiast
Bringing It All Together
As we’ve explored the world of DIY shelves, it’s clear that customization is key to creating a space that truly reflects your personality. From elevating your decor with unique shelving units to mastering the art of floating shelf installation, the possibilities are endless. By following the step-by-step guide and tips outlined in this article, you’ll be well on your way to designing and building your own DIY masterpiece. Whether you’re a seasoned DIY enthusiast or a beginner looking to add some extra storage and style to your home, the sense of accomplishment that comes with creating something with your own hands is unparalleled.
So, as you embark on your own DIY shelving journey, remember that it’s all about embracing your creativity and having fun. Don’t be afraid to experiment, try new things, and make mistakes – they’re all part of the learning process. With a little patience, persistence, and practice, you’ll be creating stunning DIY shelves that not only add functionality to your space but also reflect your unique sense of style and personality. Happy building!
Frequently Asked Questions
What are the best materials to use when building DIY shelves for a heavy load?
For heavy loads, I swear by sturdy materials like solid wood or metal brackets – they can handle the weight and add an industrial chic touch to your space. Thick MDF or plywood shelves are also great options, just make sure to secure them properly to the wall to avoid any accidents.
How can I ensure my DIY shelves are level and securely attached to the wall?
To ensure my DIY shelves are level and secure, I always use a trusty level tool and drill into wall studs for maximum support. It’s also a good idea to hang a shelf with at least two wall anchors to prevent it from tipping over.
What are some creative ways to finish and decorate DIY shelves to match my home decor?
I love experimenting with different finishes and decor to make my DIY shelves truly unique. Some of my faves include adding a pop of color with paint, incorporating natural textures like woven baskets, or giving them a rustic vibe with reclaimed wood accents. You can also play with hardware, like trendy gold or copper brackets, to elevate the look.