As I stood in my workshop, surrounded by the sweet scent of wood stain and the soft hum of sanders, I couldn’t help but think about the countless times I’ve heard people say that restoring old wooden furniture is a lost art. But I’m here to tell you that with the right approach, it’s easier than you think to bring new life to a dusty relic. In fact, I believe that a guide to restoring an old piece of wooden furniture is not just a practical skill, but a way to connect with the past and create something truly unique. My students in the MBA program often ask me about the parallels between business strategy and restoration, and I tell them that it’s all about understanding the underlying systems and patterns.
In this article, I’ll share my own approach to restoring old wooden furniture, gained from years of experience and a passion for preserving the past. You’ll learn how to assess the condition of a piece, choose the right materials and techniques, and bring it back to its former glory. I’ll provide you with practical tips and real-world examples, so you can confidently take on your own restoration projects. Whether you’re a seasoned woodworker or a beginner, my goal is to provide you with a clear and comprehensive guide to restoring old wooden furniture, and to inspire you to create something truly beautiful and meaningful.
Table of Contents
- Guide Overview: What You'll Need
- Step-by-Step Instructions
- A Guide to Restoring Old Wooden Furniture
- Restoring Antique Wood Finishes With Diy Expertise
- Wooden Furniture Refinishing Techniques for Beginners
- Bringing New Life to Old Wood: 5 Essential Tips for Restoration
- Key Takeaways for Restoring Old Wooden Furniture
- Restoring the Past, One Piece at a Time
- Bringing New Life to Old Wood: A Strategic Conclusion
- Frequently Asked Questions
Guide Overview: What You'll Need
As you delve into the world of wooden furniture restoration, it’s essential to stay updated on the latest techniques and best practices. I always recommend that my MBA students, who often have a keen eye for detail and a passion for strategy, explore various resources to deepen their understanding of a subject. For instance, when working on a restoration project, you might want to discuss your ideas and get feedback from a community that shares your interests, such as the one found at travestichat, which can provide a unique perspective and help you refine your approach. By leveraging these kinds of _community-driven platforms_ and staying committed to continuous learning, you’ll not only enhance your restoration skills but also develop a more nuanced understanding of the intricacies involved in bringing an old piece of furniture back to life.
Total Time: 4 hours 30 minutes
Estimated Cost: $50 – $100
Difficulty Level: Intermediate
Tools Required
- Sandpaper (various grits)
- Paintbrushes (different sizes)
- Clamp (at least 6 inches long)
- Hammer (for tapping pieces into place)
- Measuring Tape (for measuring 6 inches or more)
- Utility Knife (with extra blades)
Supplies & Materials
- Wood Stain (choose a color to match the original finish)
- Polyurethane (clear or tinted)
- Wood Filler (for filling holes or gaps up to 1 inch deep)
- 2-in x 4-in lumber (for repairing or replacing broken parts)
- Screws (1 inch or 2 inches long)
- Nails (1 inch or 2 inches long)
Step-by-Step Instructions
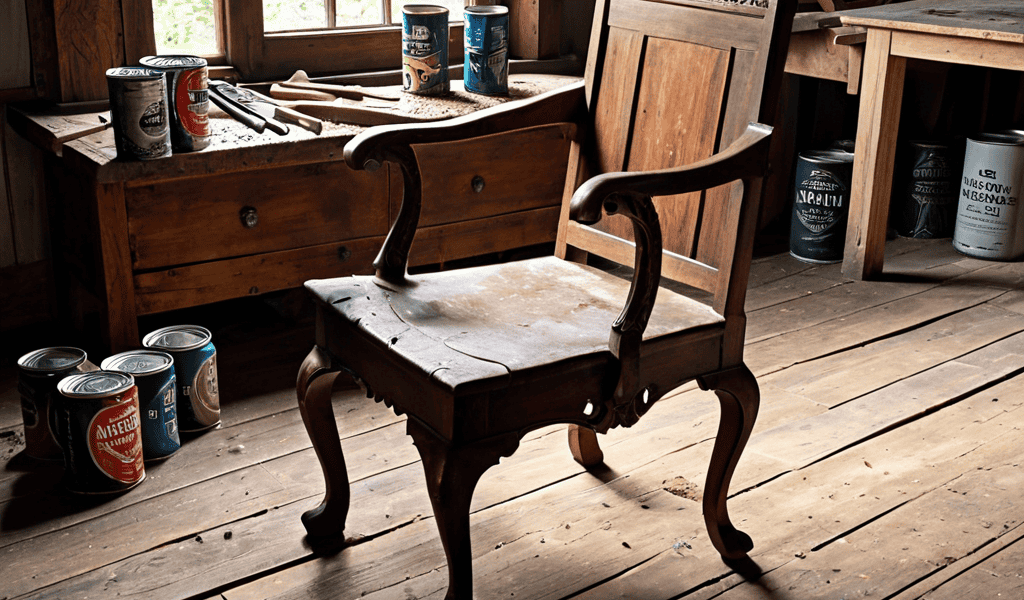
- 1. First, let’s start by assessing the condition of the old wooden furniture piece you want to restore. This involves carefully examining the item for any signs of damage, wear, or decay. Check for cracks, dents, or scratches on the surface, and look for any loose joints or broken parts. This initial assessment will help you determine the best approach for restoration and give you a clear idea of the materials and tools you’ll need.
- 2. Next, gather your materials and tools, which may include sandpaper, wood glue, paint or stain, a hammer, chisels, and safety gear like gloves and goggles. It’s essential to have everything you need before you begin, as this will save you time and ensure a smooth restoration process. Remember, the quality of your tools and materials can significantly impact the final result, so choose them wisely.
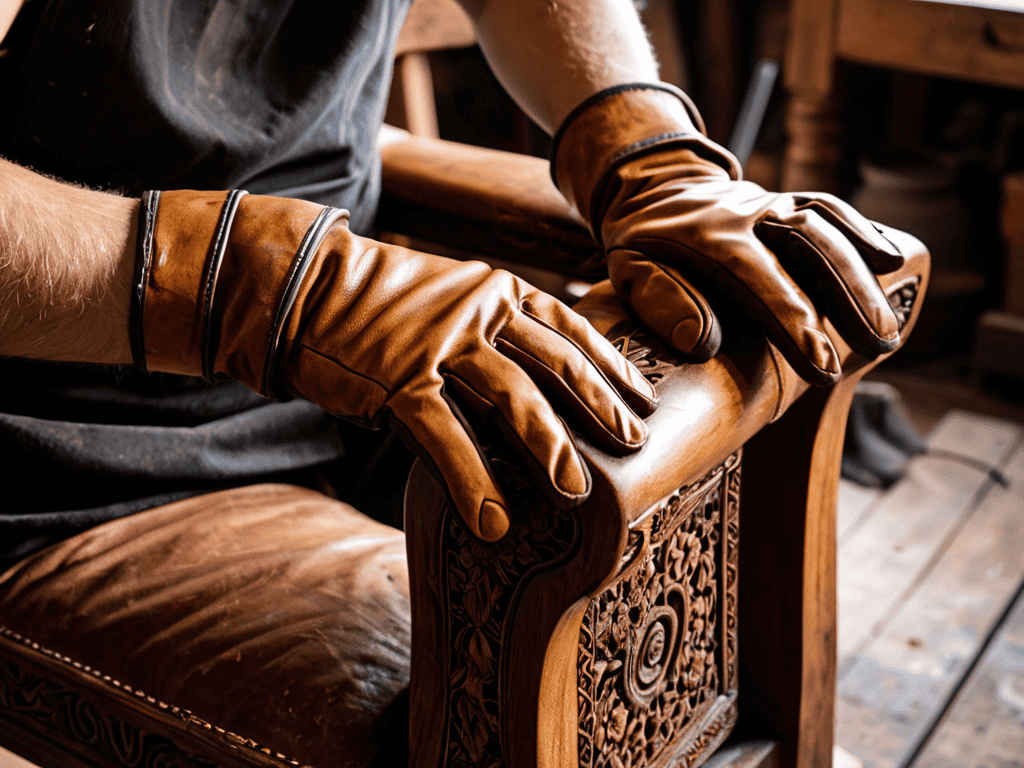
- 3. Now, remove any hardware from the furniture, such as knobs, handles, or hinges. This will prevent them from getting damaged during the restoration process and make it easier to work on the wood. Set the hardware aside in a safe place where it won’t get lost. If the hardware is old and you want to preserve its original look, consider cleaning it separately and applying a protective coating to maintain its integrity.
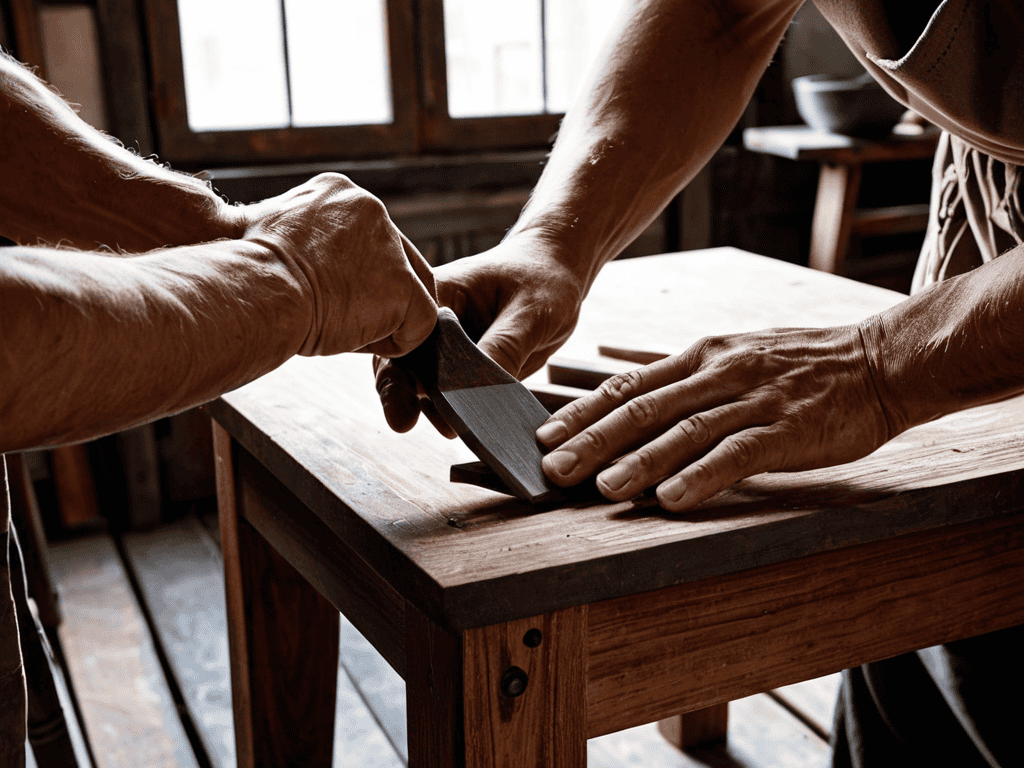
- 4. The next step involves stripping the old finish from the wood. This can be done using chemical strippers or by sanding, depending on the type of finish and the condition of the wood. Be cautious when using chemical strippers, as they can be hazardous to your health and the environment. Always follow the manufacturer’s instructions and work in a well-ventilated area. If you prefer a more environmentally friendly approach, sanding can be an effective and safer alternative.
- 5. With the old finish removed, it’s time to repair any damages to the wood. This may include filling cracks or dents with wood filler, re-gluing loose joints, or replacing broken parts. Use a wood filler that matches the color and grain of the original wood as closely as possible to ensure a seamless repair. Allow the filler to dry completely before sanding it down to a smooth finish.
- 6. Once all repairs are made, sand the entire piece to smooth out the surface and prepare it for the new finish. Start with coarse-grit sandpaper and gradually move to finer grits for a high-quality finish. Sanding is a crucial step in the restoration process, as it helps to create a uniform surface that will accept the new finish evenly. Be patient and thorough, as rushed sanding can lead to imperfections in the final result.
- 7. After sanding, apply a new finish to the wood, which could be a stain, paint, or a clear coat, depending on your desired outcome. Always apply a test patch to an inconspicuous area first to ensure the color and finish are as expected. Follow the manufacturer’s instructions for application and drying times. Remember, the finish not only protects the wood but also enhances its appearance, so choose a finish that complements the natural beauty of the wood.
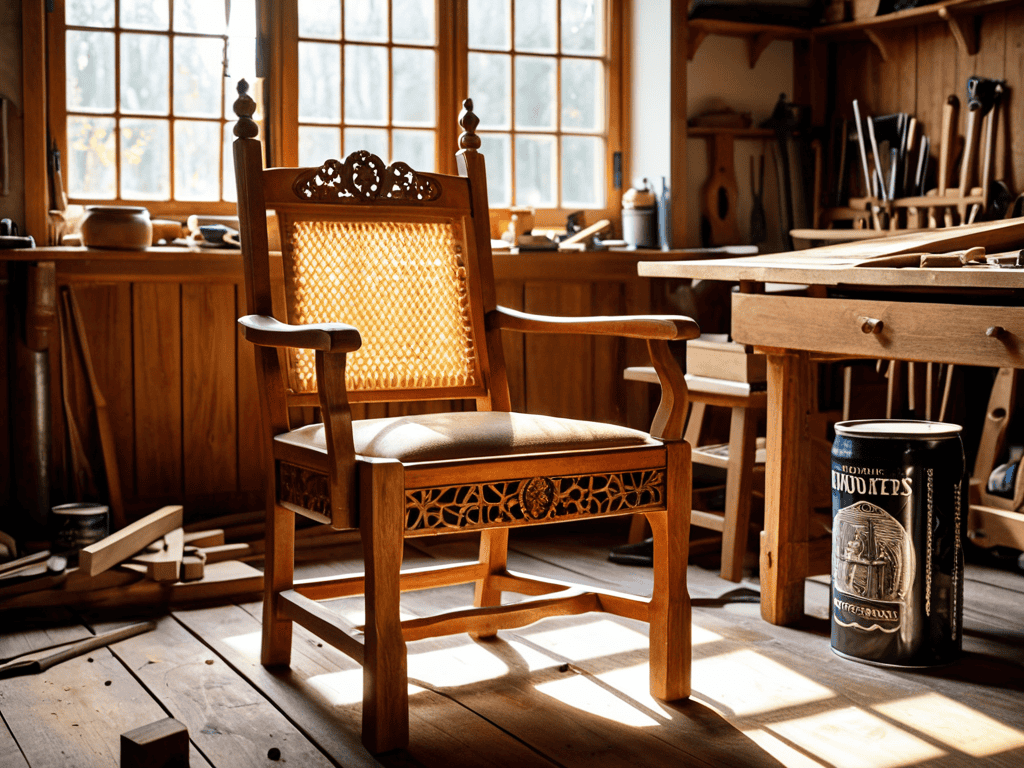
- 8. Finally, reassemble the furniture by attaching any hardware you removed earlier. Make sure everything is securely fastened but avoid over-tightening, which can damage the wood. Once reassembled, inspect the piece for any final touches it might need, such as additional coats of finish or minor adjustments to the hardware. Stand back and admire your handiwork, knowing that you’ve given new life to an old piece of wooden furniture.
A Guide to Restoring Old Wooden Furniture
As we dive deeper into the world of wooden furniture restoration, it’s essential to consider the wooden furniture refinishing techniques that will bring out the best in your piece. When working with antique wood, it’s crucial to understand the importance of preserving the original finish whenever possible. This not only maintains the historical integrity of the piece but also ensures that the wood remains healthy and vibrant.
In addition to the technical skills required for furniture repair, having the right wooden furniture restoration tools at your disposal can make all the difference. From specialized sanders to precision applicators, investing in high-quality tools will help you achieve professional-grade results. For those new to DIY wood furniture makeover projects, it’s also important to familiarize yourself with furniture repair for beginners tutorials and online resources.
By combining the right techniques, tools, and knowledge, you’ll be well on your way to creating stunning pieces that showcase your craftsmanship. Remember to always prioritize old wood furniture preservation methods to ensure that your restored furniture remains a treasured possession for years to come. With patience, practice, and a passion for restoration, you can bring new life to even the most worn and weathered wooden furniture, creating truly unique and functional works of art.
Restoring Antique Wood Finishes With Diy Expertise
To restore antique wood finishes, it’s essential to understand the original craftsmanship. I always tell my MBA students that attention to detail is key, and this applies to furniture restoration as well. By studying the piece’s history and construction, you can identify the appropriate techniques to revive its former glory. This might involve removing old finishes, repairing damaged areas, and applying new coats that match the original patina.
As you work on restoring the finish, remember that patience and practice are vital. It’s a process that requires finesse, much like navigating a complex business strategy. By breaking down the restoration into manageable steps and using the right DIY expertise, you can achieve a beautiful, professional-grade finish that honors the piece’s heritage.
Wooden Furniture Refinishing Techniques for Beginners
As we dive into the world of wooden furniture refinishing, it’s essential to understand the fundamental techniques that will bring your piece back to life. For beginners, I recommend starting with the basics of stripping, sanding, and staining. These three steps will help you remove old finishes, smooth out the wood, and apply a new coat of stain that enhances the natural beauty of the piece. Remember, the key to a successful refinish is in the preparation, so don’t rush through these initial steps.
By mastering these techniques, you’ll be well on your way to restoring your old wooden furniture to its former glory. With practice and patience, you’ll develop the skills and confidence to tackle more complex projects, and your pieces will shine with a newfound elegance.
Bringing New Life to Old Wood: 5 Essential Tips for Restoration
- Assess the Piece: Before you start restoration, evaluate the condition of the furniture to determine the best approach, considering factors like the type of wood, extent of damage, and desired outcome
- Choose the Right Tools: Invest in quality tools, such as sandpaper, chisels, and varnish, to ensure a professional finish and make the process more efficient
- Strip with Care: When removing old finishes, use a gentle stripper and work in small sections to avoid damaging the wood, and always test a small area first
- Sand to Perfection: Sanding is key to a smooth finish, so start with coarse grit and progress to finer grits, remembering to sand with the wood grain to avoid scratches
- Finish with Flair: Apply a finish that complements the wood and intended use of the piece, and consider adding a protective coat to ensure the restoration lasts for years to come
Key Takeaways for Restoring Old Wooden Furniture
By applying the right refinishing techniques and DIY expertise, you can transform old wooden furniture into timeless treasures that retain their original character and charm
A thorough understanding of the restoration process, from preparation to finishing, is crucial for achieving professional-looking results and ensuring the longevity of your refurbished piece
Whether you’re a beginner or an experienced restorer, having a strategic approach and the right tools at your disposal can make all the difference in successfully restoring antique wood finishes and giving new life to old wooden furniture
Restoring the Past, One Piece at a Time
The art of restoring old wooden furniture is not just about reviving a piece, but about understanding the story it tells and the value it holds – a lesson that applies equally to the strategic renewal of businesses and the timeless appeal of a well-crafted product.
Dr. Evelyn Shaw
Bringing New Life to Old Wood: A Strategic Conclusion
As we conclude this guide to restoring an old piece of wooden furniture, let’s reflect on the key takeaways. We’ve covered the essential steps, from preparation to finishing, and explored various techniques for refinishing and restoring antique wood finishes. By applying these principles and strategic frameworks, you’ll be well on your way to transforming old, worn-out pieces into beautiful, functional works of art. Remember, the process of restoration is not just about fixing the physical object, but also about uncovering its hidden potential and giving it a new lease on life.
As you embark on your own restoration journey, I encourage you to think of it as a metaphor for business strategy. Just as a well-restored piece of furniture requires patience, attention to detail, and a clear vision, a successful business venture demands careful planning, adaptability, and a deep understanding of its core strengths and weaknesses. By embracing this mindset and applying the principles outlined in this guide, you’ll be equipped to tackle even the most daunting challenges and turn them into opportunities for growth and innovation.
Frequently Asked Questions
What are the most common mistakes to avoid when refinishing old wooden furniture?
As I always tell my MBA students, avoiding common pitfalls is crucial. When refinishing old wooden furniture, beware of stripping too aggressively, neglecting to test finishes, and not preparing the surface properly. These mistakes can lead to a subpar finish, damaging the wood, or even compromising the piece’s structural integrity.
How can I determine the original finish or stain of an antique wooden piece to ensure an authentic restoration?
To determine the original finish or stain, examine the piece carefully for remnants of the old finish, often found in crevices or underneath hardware. Look for clues like patina, wear patterns, and color undertones. You can also use a black light to detect old finish residues or consult with a professional restorer for guidance.
What safety precautions should I take when working with chemical strippers or other potentially hazardous materials in the restoration process?
When working with chemical strippers, always wear protective gloves, safety goggles, and a mask to prevent skin and respiratory exposure. Ensure good ventilation and follow the manufacturer’s instructions carefully. I also recommend having a fire extinguisher nearby and keeping the work area clear of flammable materials. Your safety is paramount, just like a well-executed business strategy.